
 |
|
|
#11 |
|
Senior Member
Join Date: Jun 2009
Location: WA
Posts: 1,632
 |
The transmission is now back on the engine. The service manual is very specific regarding the order of bolt installation: Diff, torque converter-to-flex plate bolts, trans cover, engine stiffener then the bell housing bolts.
To keep myself out of trouble (hopefully), I've taken a TON of pictures and bagged and tagged just about everything I've removed. I tried to leave as many bolts in place in their holes as possible. 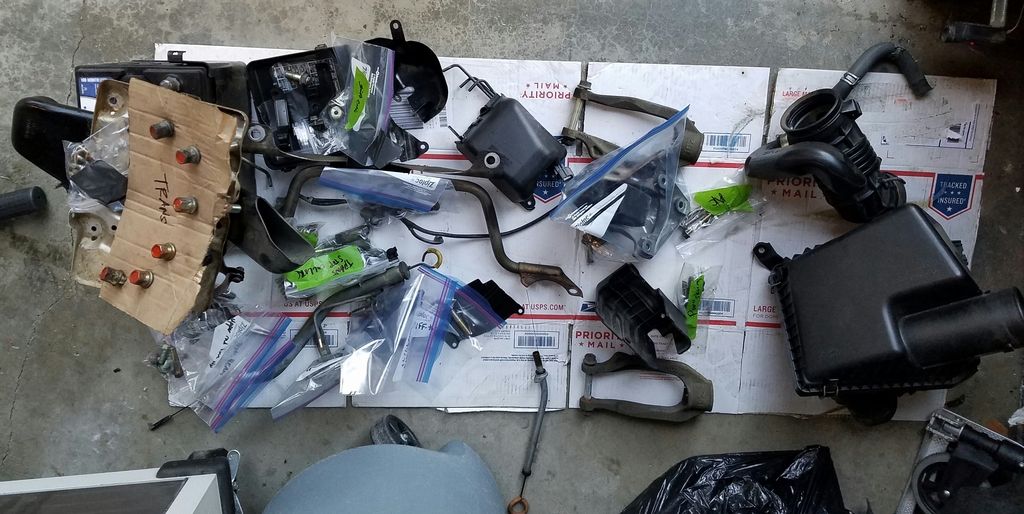 Here's a pic of some additional engine parts I'm replacing that just arrived a few days ago. I thought I was going to have to spend upwards of $500 to buy the right engine mount and the trans. mount, but I came across a pair of used OEM engine mounts in good condition on eBay for $55, including shipping. I plan on knocking the rust off the left mount I received, spray it satin black then replace the three nuts and toss it back on eBay. I bought a new OEM trans mount on eBay for $188, but I found one in great shape shape at Pick-N-Pull this past weekend for...$11. I'm debating whether to sell the new trans mount. So, I might break even or come out ahead on the mounts  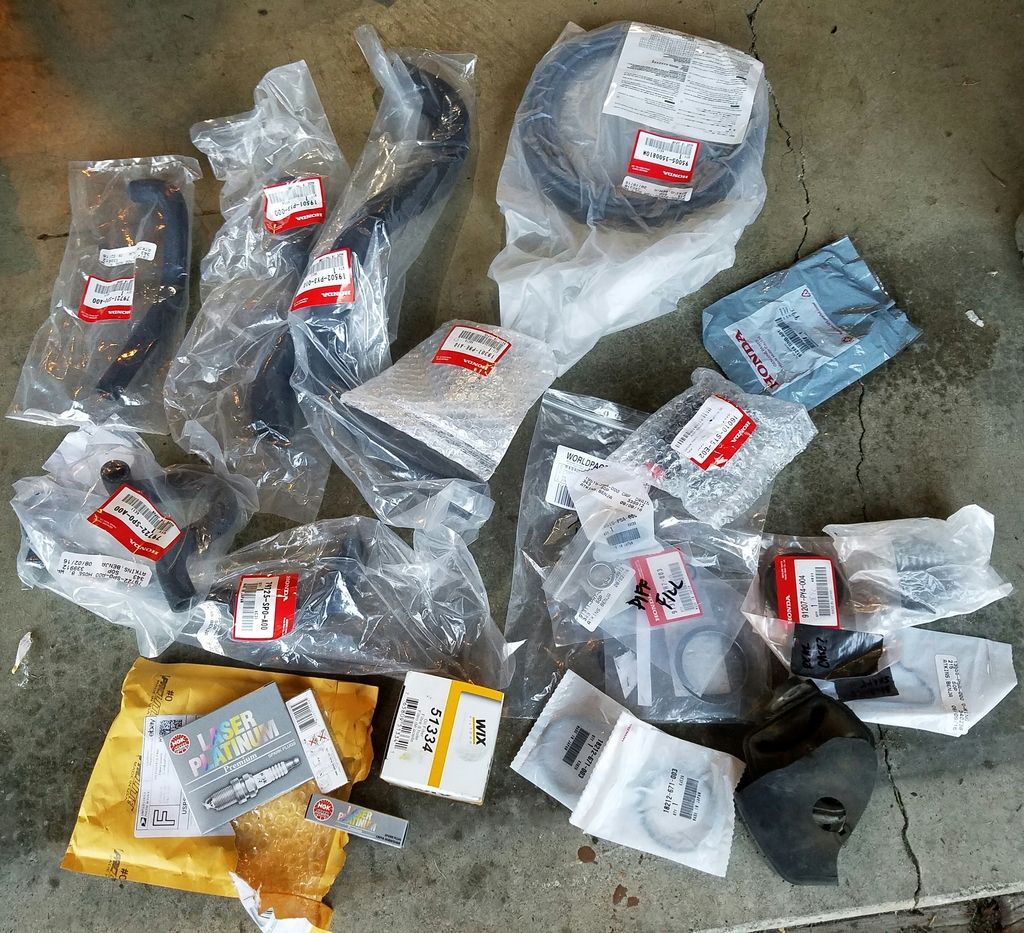 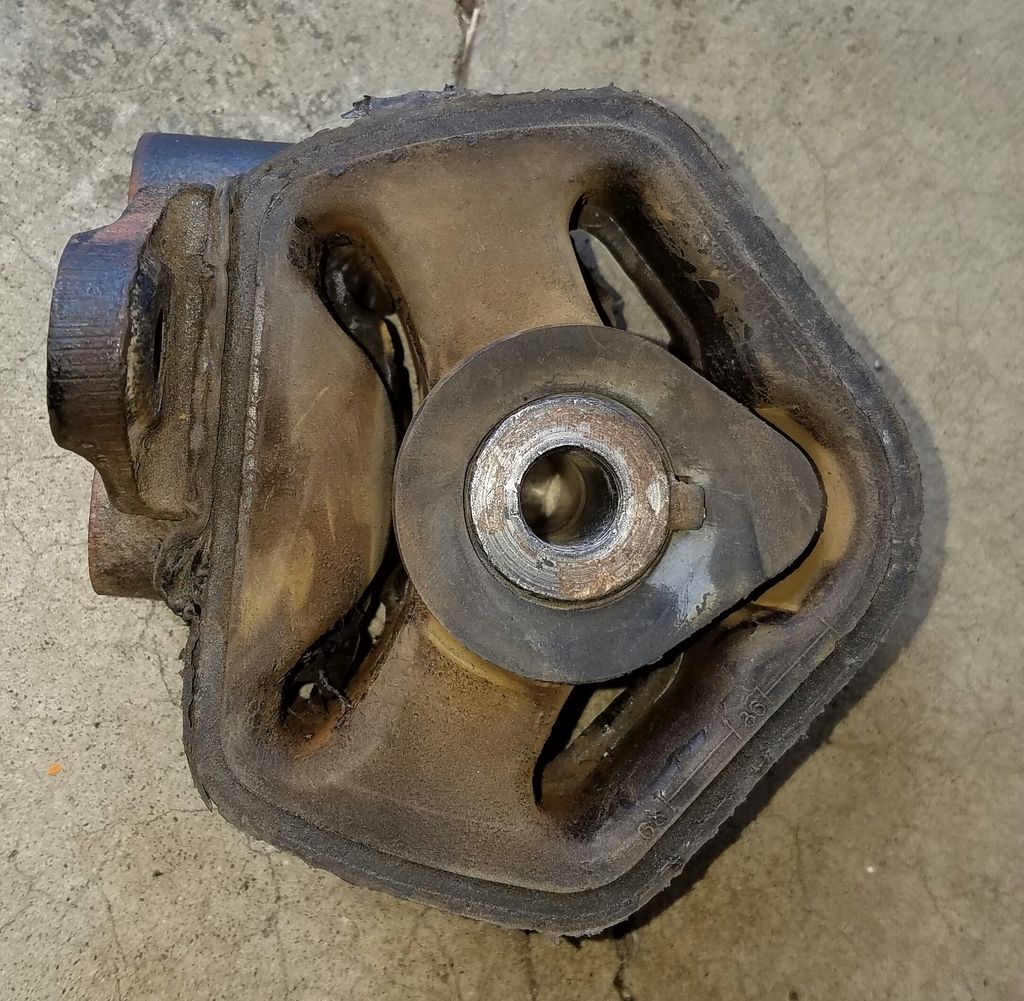 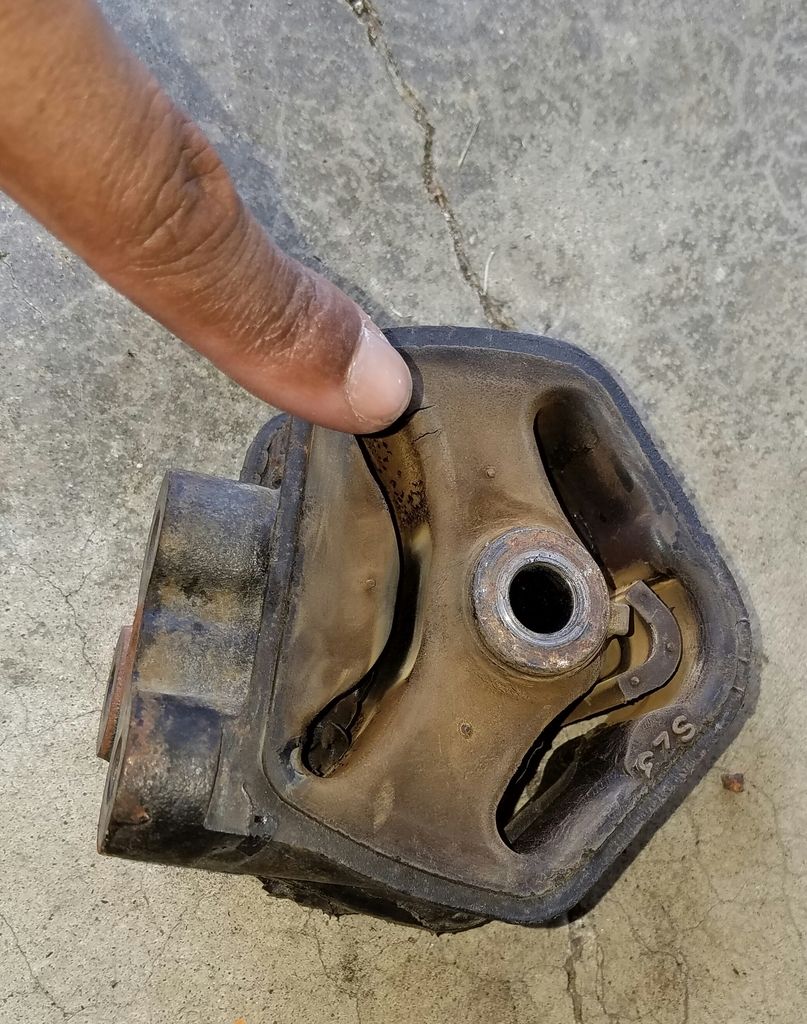 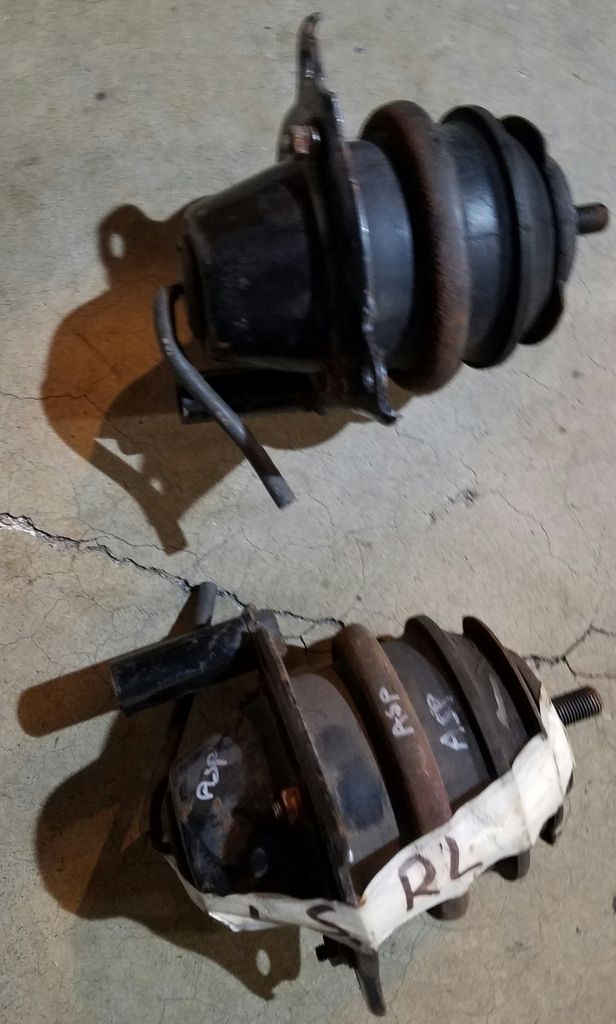 All I have left is a couple hours of work, including installing a few new water hoses, painting the engine mount, and triple-checking everything before I can install the assembly back in the car  Edit: I sanded the right engine mount with various grits of paper ranging from 180 to 600 then I applied two coats of black primer and two coats of black satin top coat. It was a pain in the butt to tape this up in preparation for paint. I'll let it cure for a couple days: 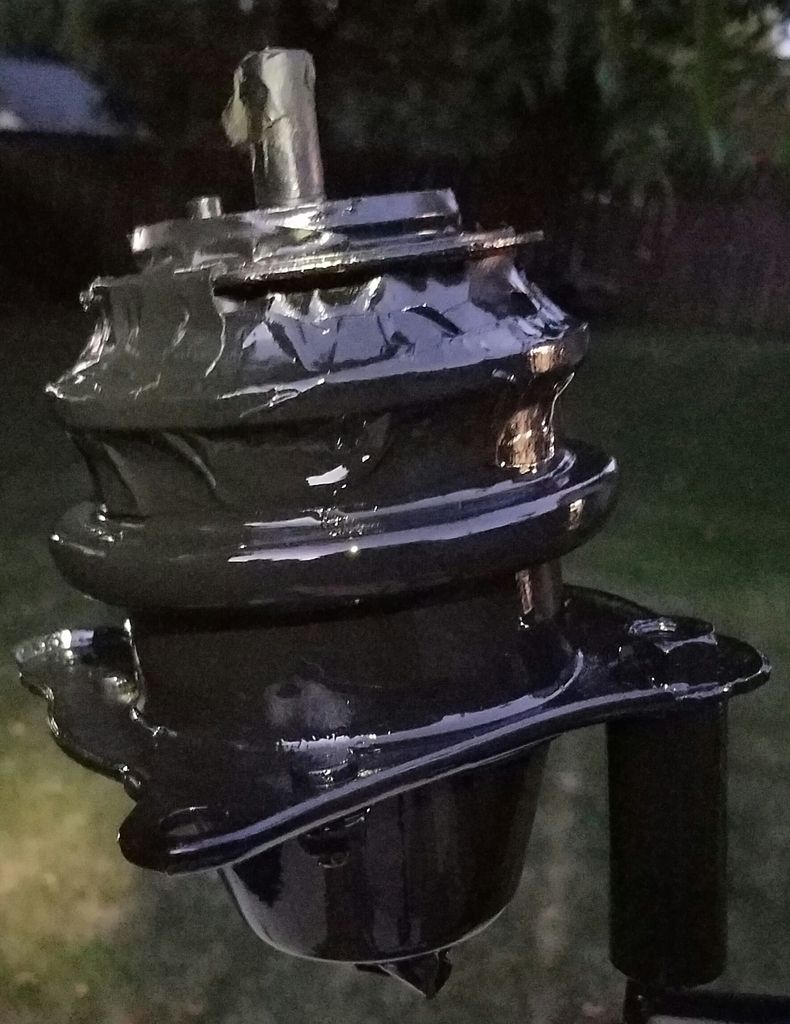 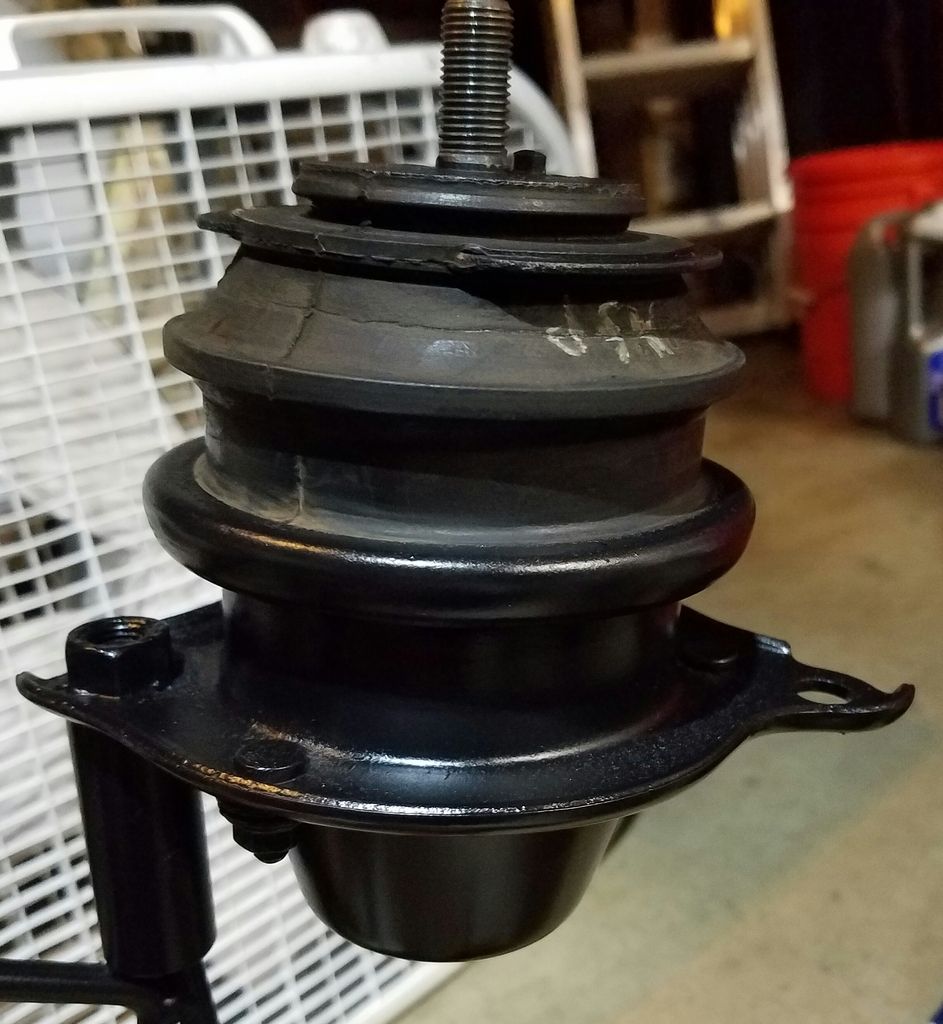 I used Rustoleum High Performance semi-gloss on the left engine mount - like the look of this sheen a bit better: 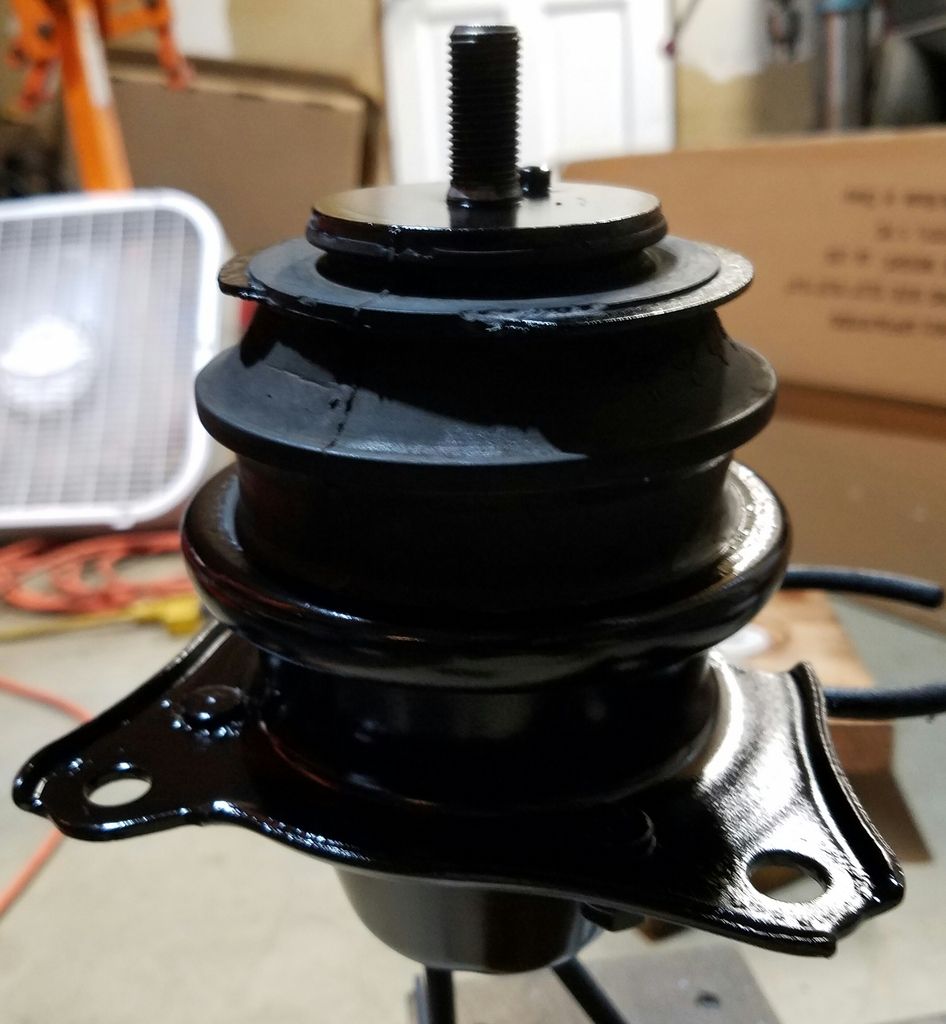 One of the last things to do before reinstalling the engine back in the car was my old nemesis...the extension shaft. I found that what worked well to get it back into place was to rotate the shaft back-and-forth with the c-clip opening facing up while applying a little pressure to push it in. Once I got it in the groove as far as it would go before engaging with the diff, I leaned over the trans and slowly rotated the intermediate shaft counterclockwise with my left hand while pulling the extension shaft back and rotating it about 1/4" clockwise then sliding it back into the groove with my right hand. I had to repeat this about 10 times until the safe finally opened i.e. the extension shaft finally fully engaged with the diff. No hammer or other striking tool was required during this procedure. I then reinstalled the cover. Sent from my SM-G935V using Tapatalk
__________________
My 1999 Acura RL "Build": http://forums.acuralegend.org/showthread.php?t=34510 Last edited by byalegend; 08-26-2016 at 08:03 AM. |
|
|

|
|
|
#12 |
|
Senior Member
Join Date: Jun 2009
Location: WA
Posts: 1,632
 |
The engine is back in the car. I zip-tied as much as I could out of the way in the cavity and on the engine itself before dropping the engine into place. One thing I should have done before installing the engine was to re-clip the battery cable harnesses to the bracket on top of the driver's side engine mount. I had to drop the AC compressor, loosen the bracket's bolt with a ratcheting wrench, contort myself to reattach the clips then tighten the bracket's bolt. Also, the power steering pump was a pain, as it kept falling in my way.
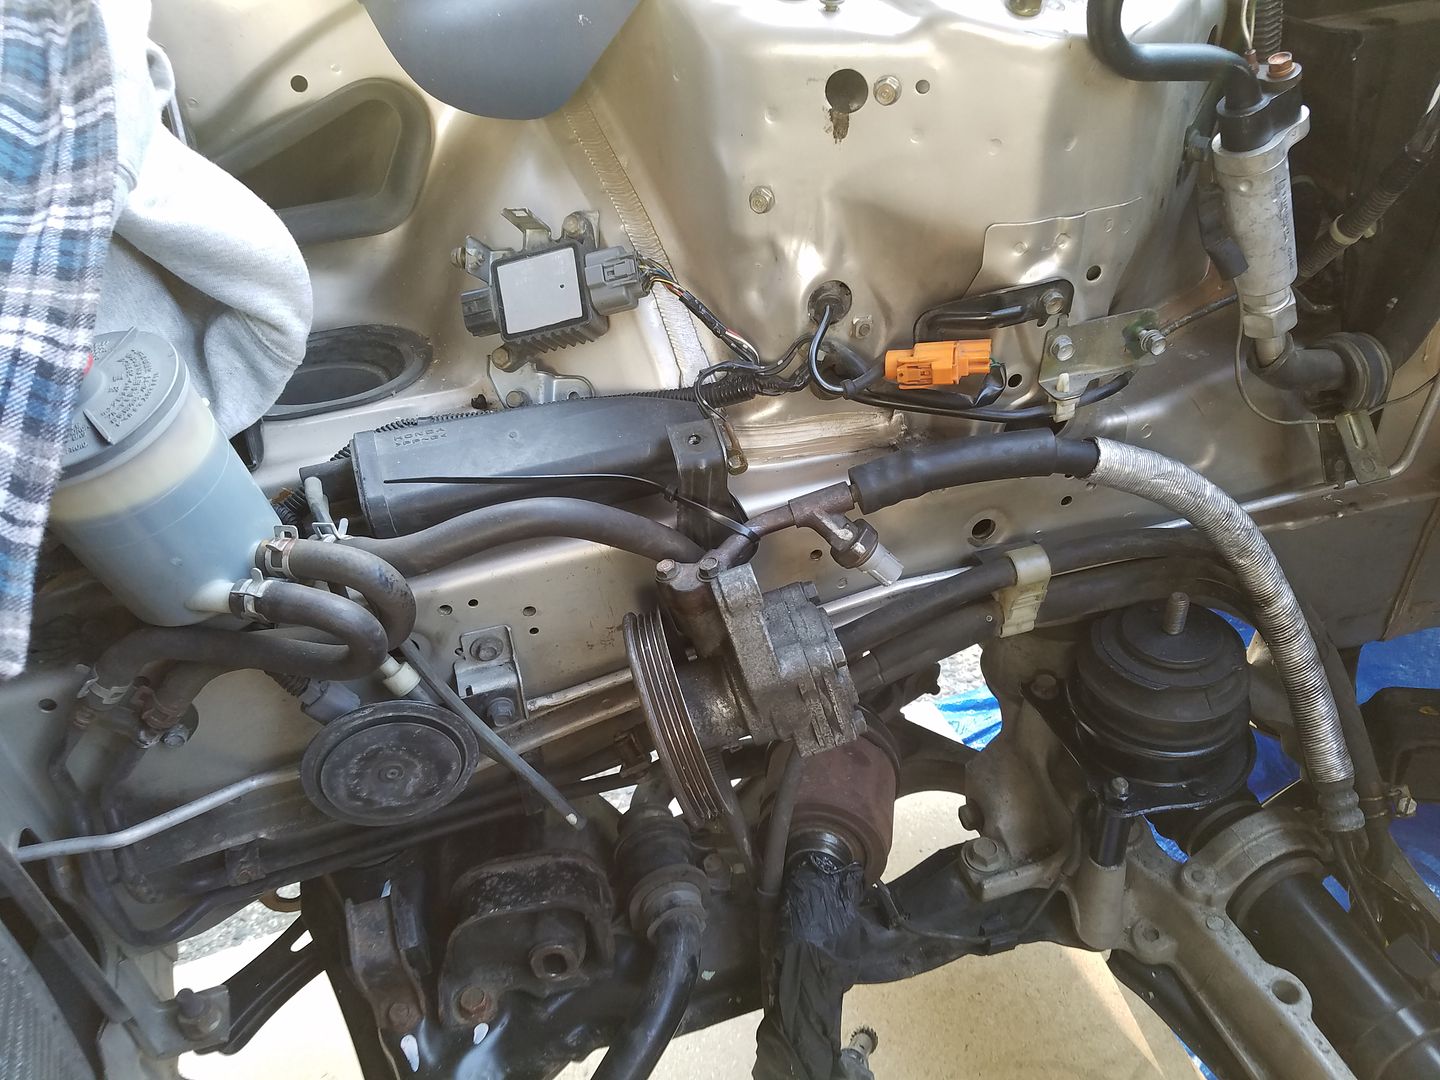 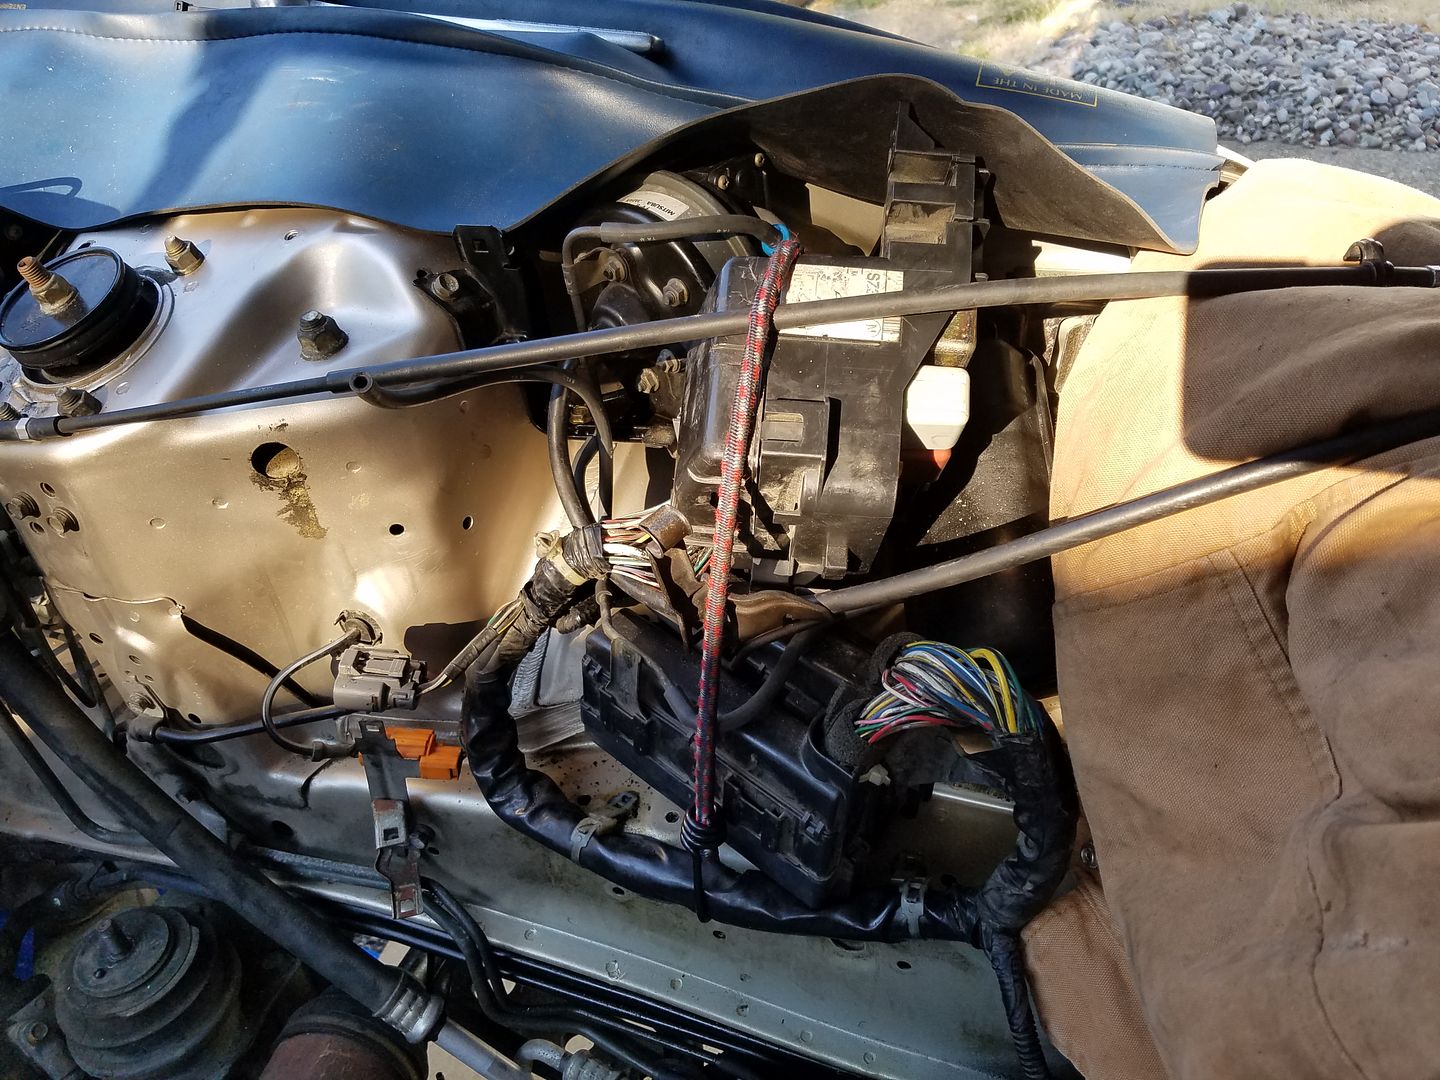 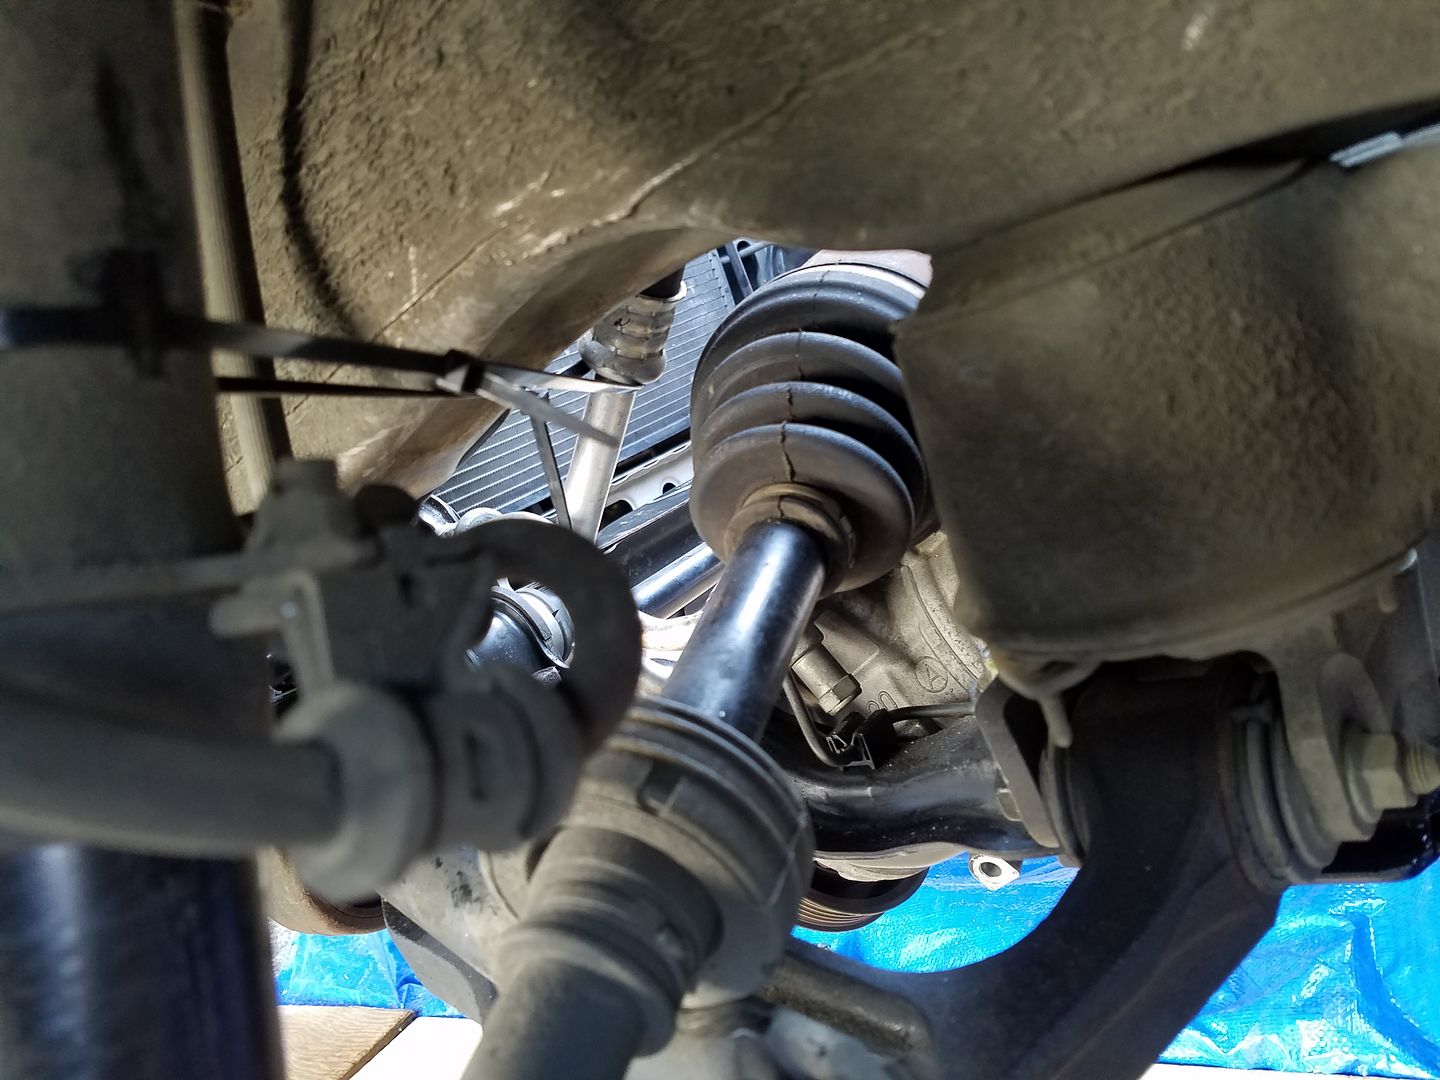 The fit was TIGHT, and I dinged the firewall because I had to remove the load leveler, which meant supporting the engine with my jack for a few minutes (should have placed something soft between the engine and the firewall - oh, well). The leveler kept causing the engine to list on final entry, so I couldn't get the mounts on either side of the engine and their brackets to line up at the same time. Also, once I got the engine on the mounts, I had to put the jack under the transmission pan so I could install the transmission mount. I followed the service manual's recommendation on the order of installing and "torquing" the bolts: Trans, right-rear eng. mount, left-rear eng. mount, right-front eng. mount then the left-front eng. mount. The old engine is in the bed of the pickup truck in the background, ready for a core return trip. 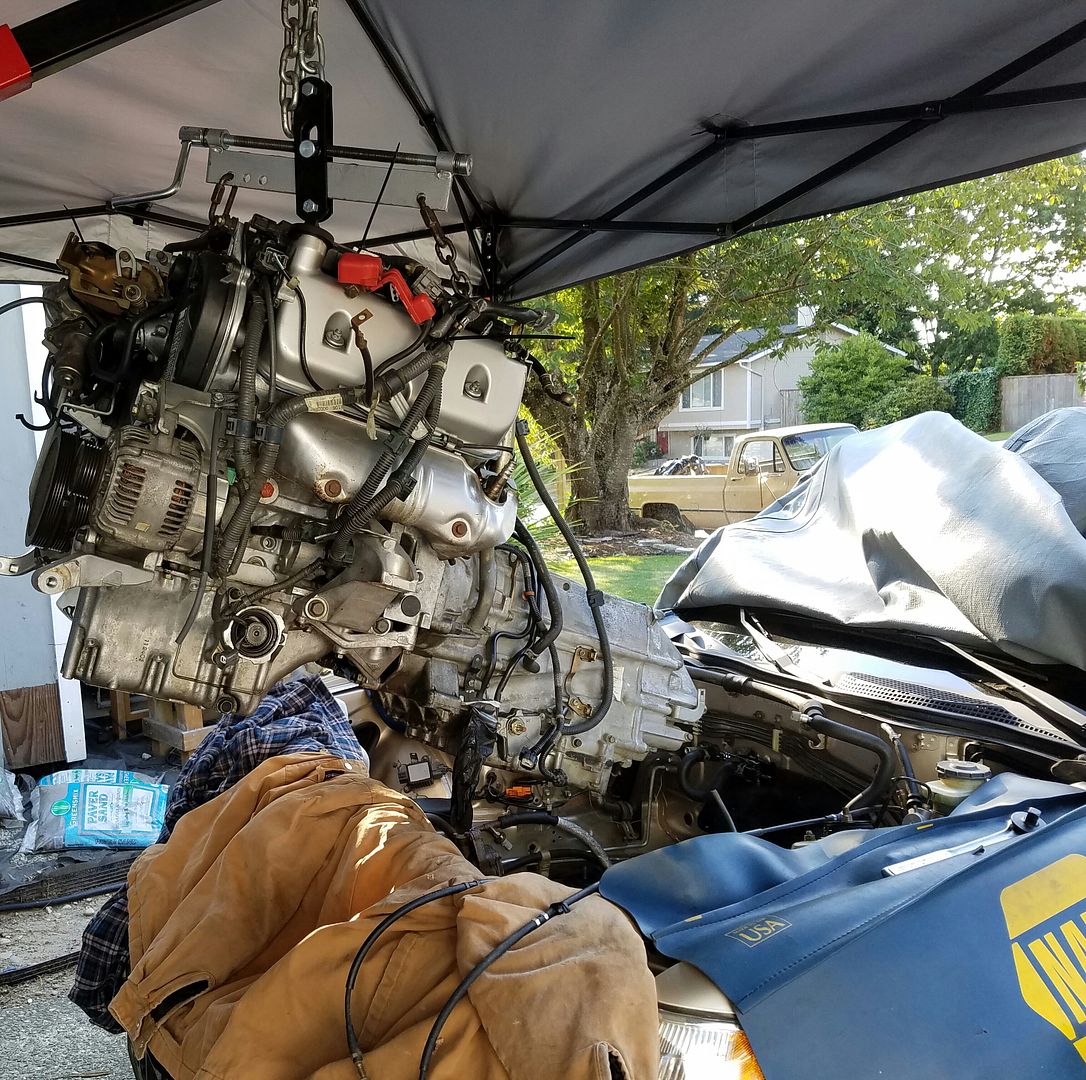 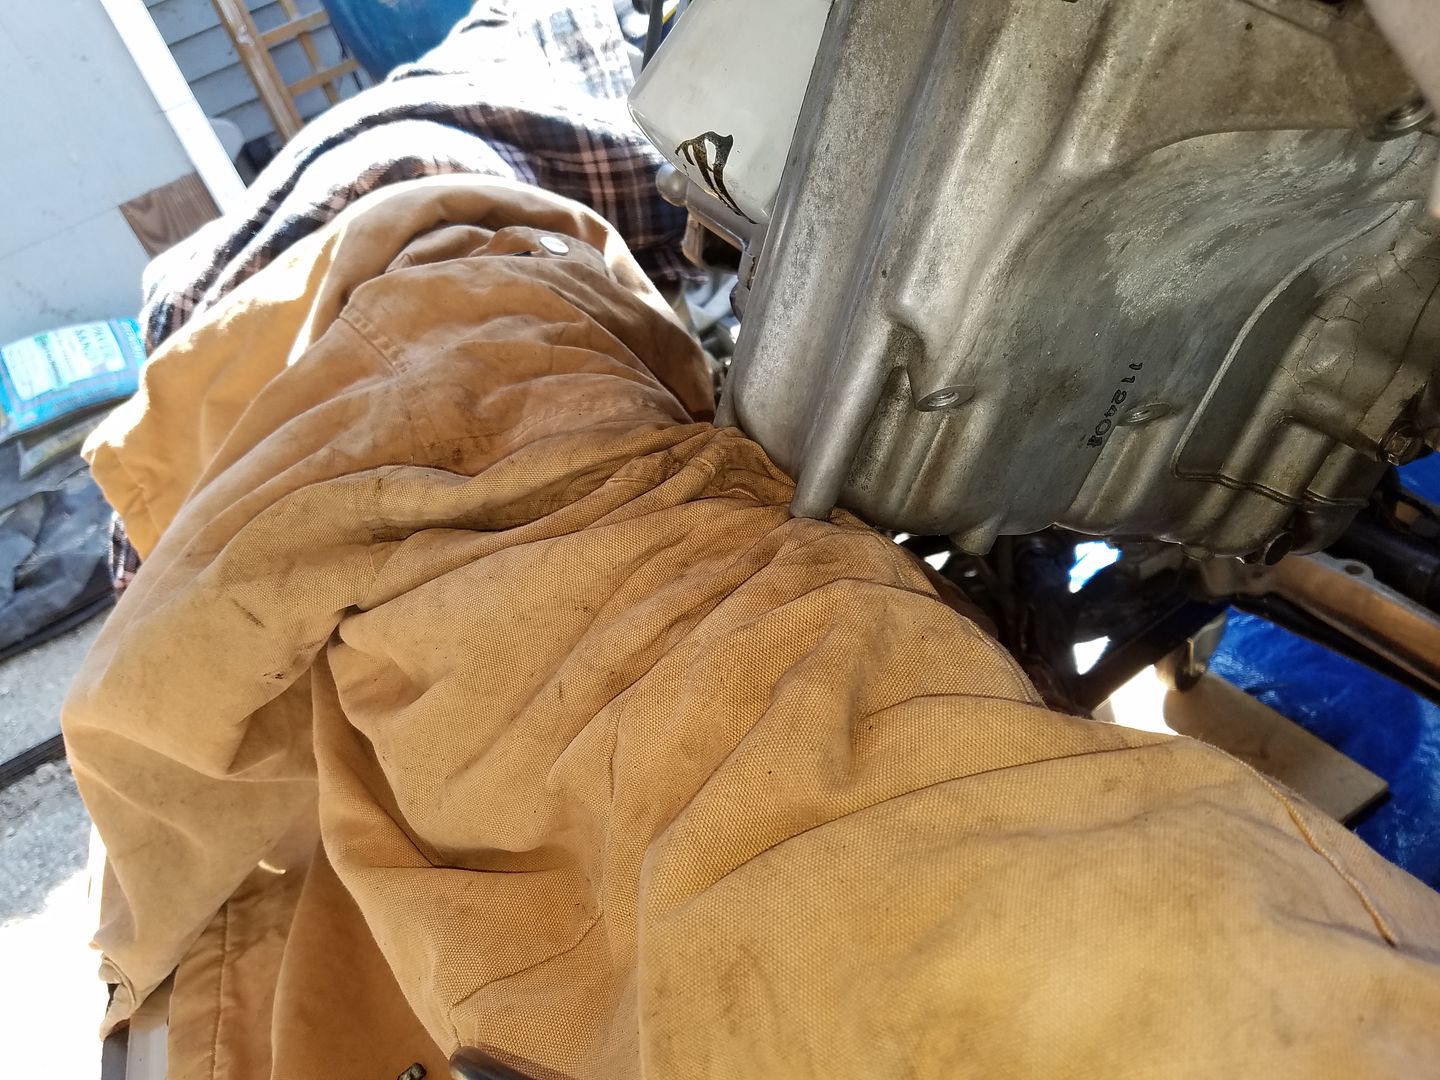 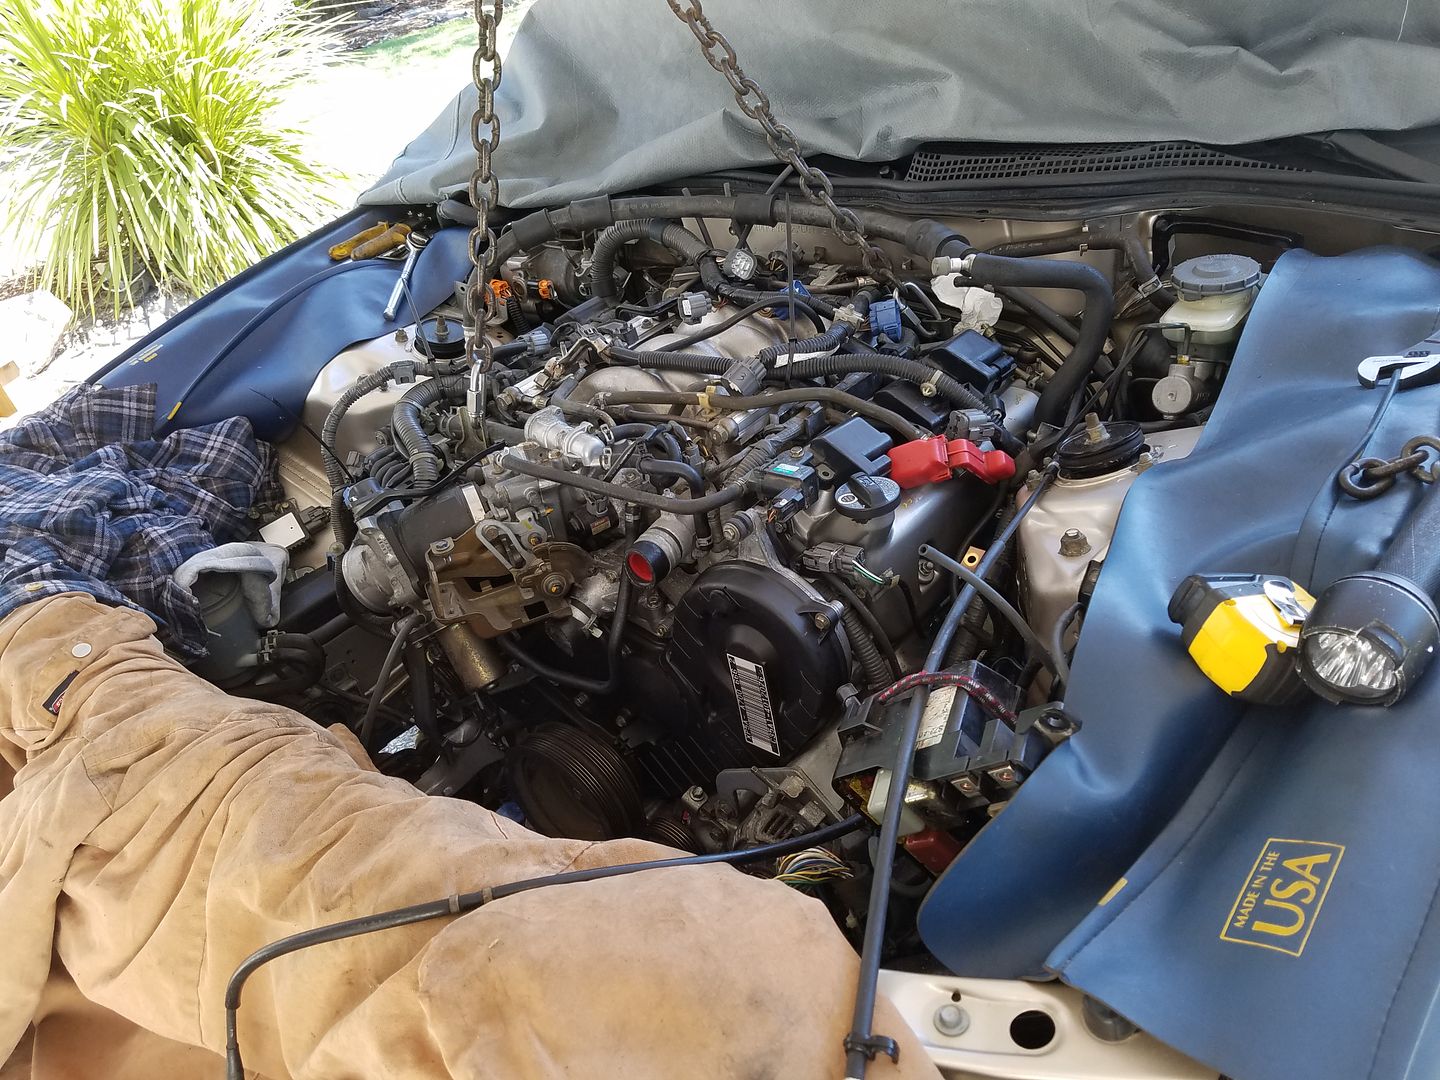 Installing the shift cable was not easy. It took me a couple hours to screw in just the top bolt, in part because the metal washers kept falling. 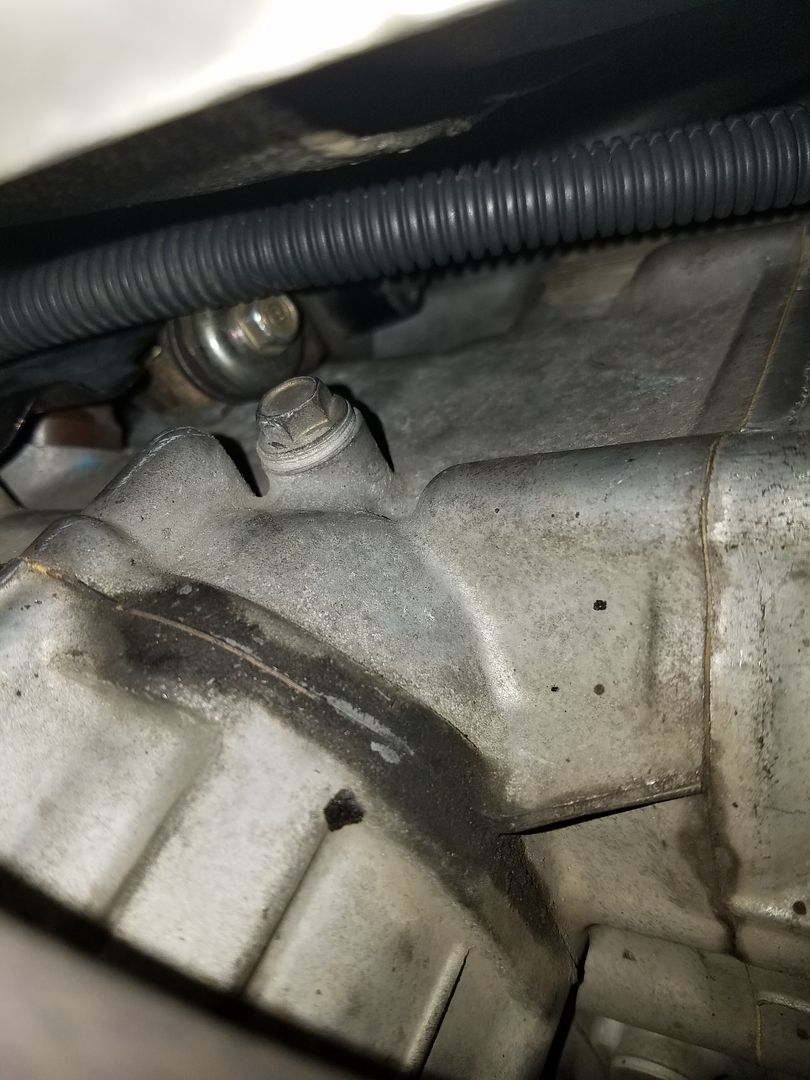 The exhaust Y-pipe installation was like playing Twister. I'd get the holes square on one side, then the other side would be off, or the little stud near the cat would come out of the bracket before I could get a nut on it. After what I'll call "several" tries, everything seemed to magically fall into place. I'm still scratching my head over that one. I installed mostly new Honda nuts, new gaskets, and new exhaust bolts and springs. 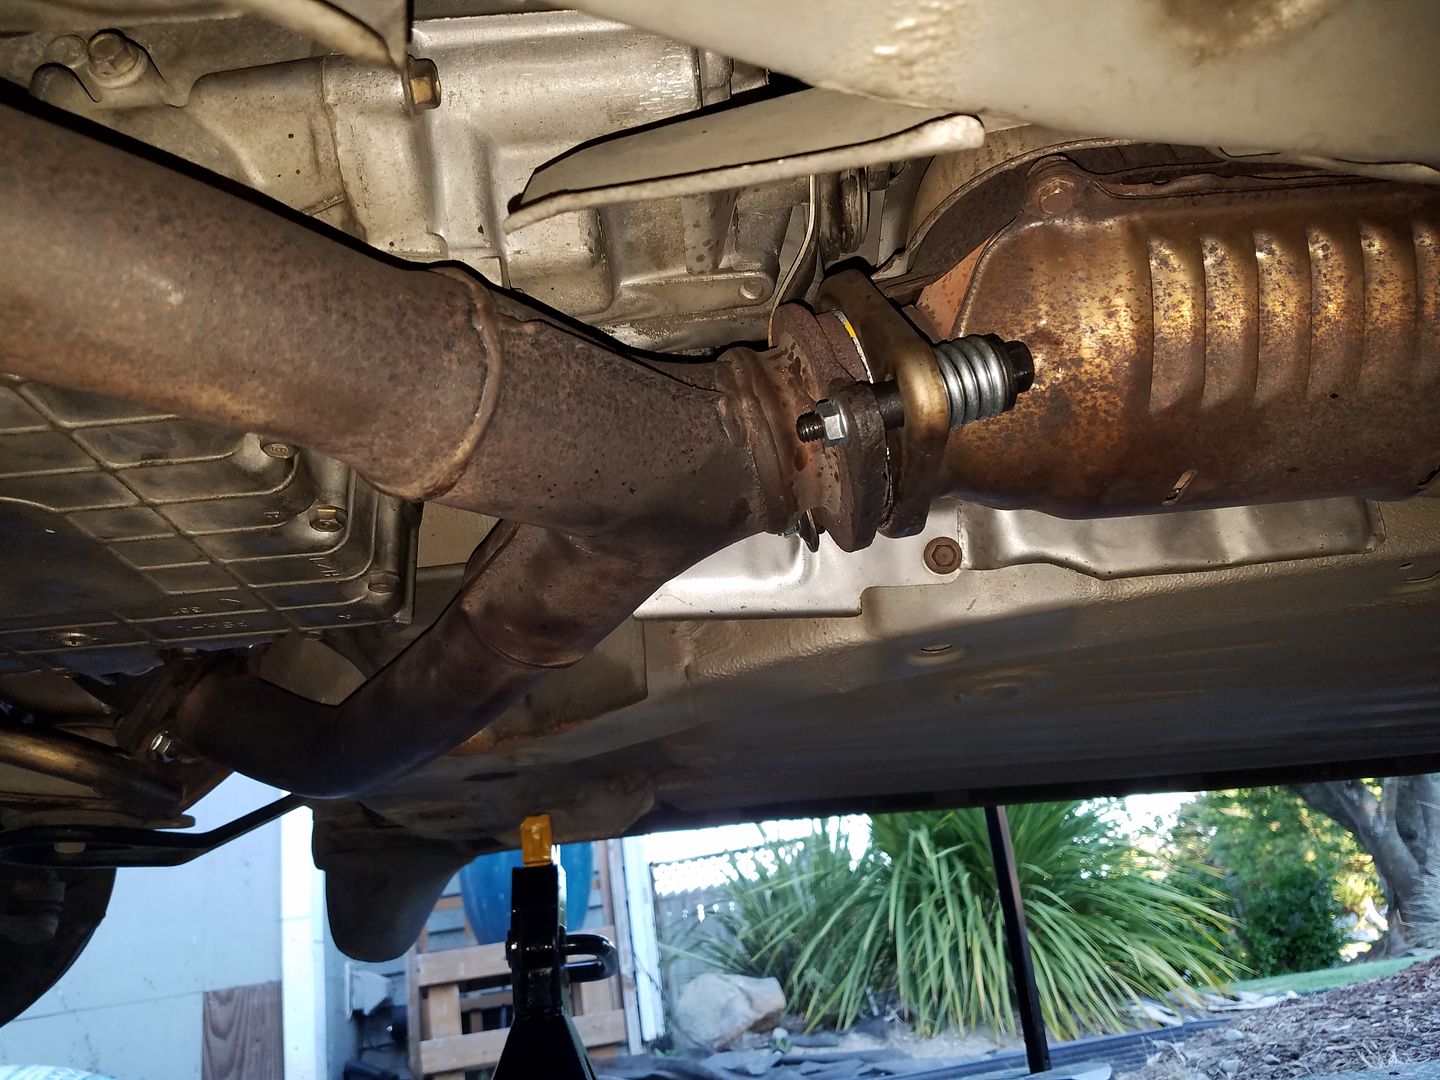 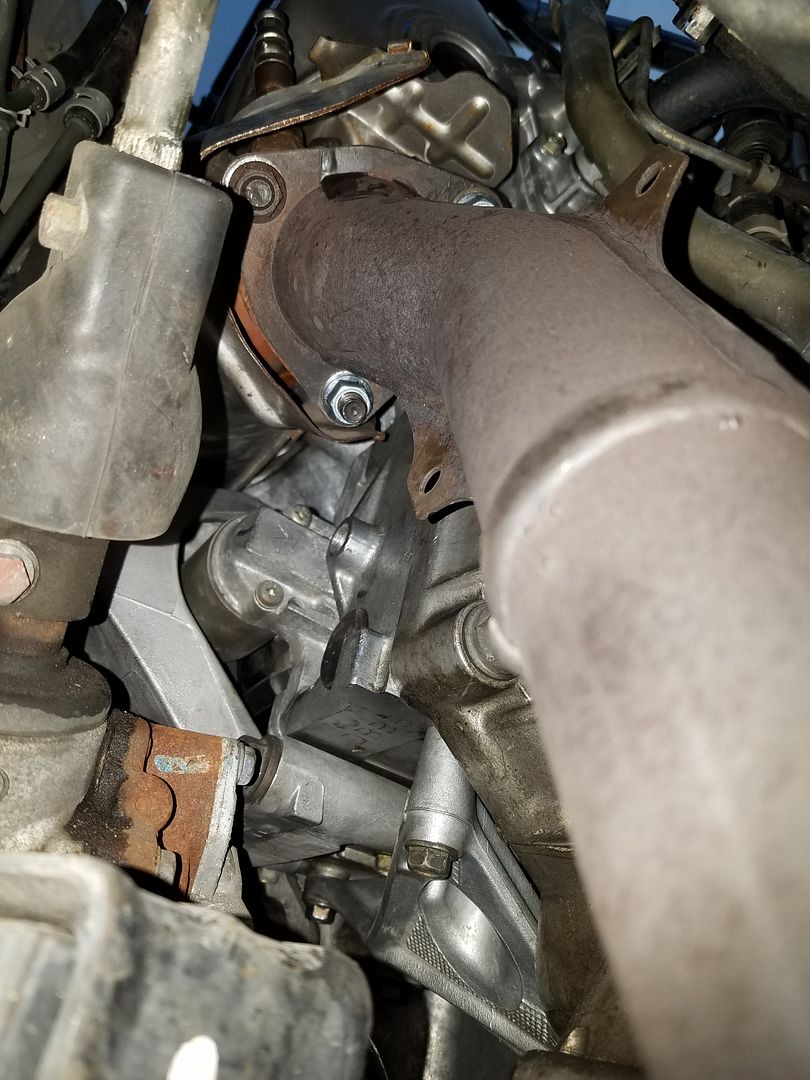 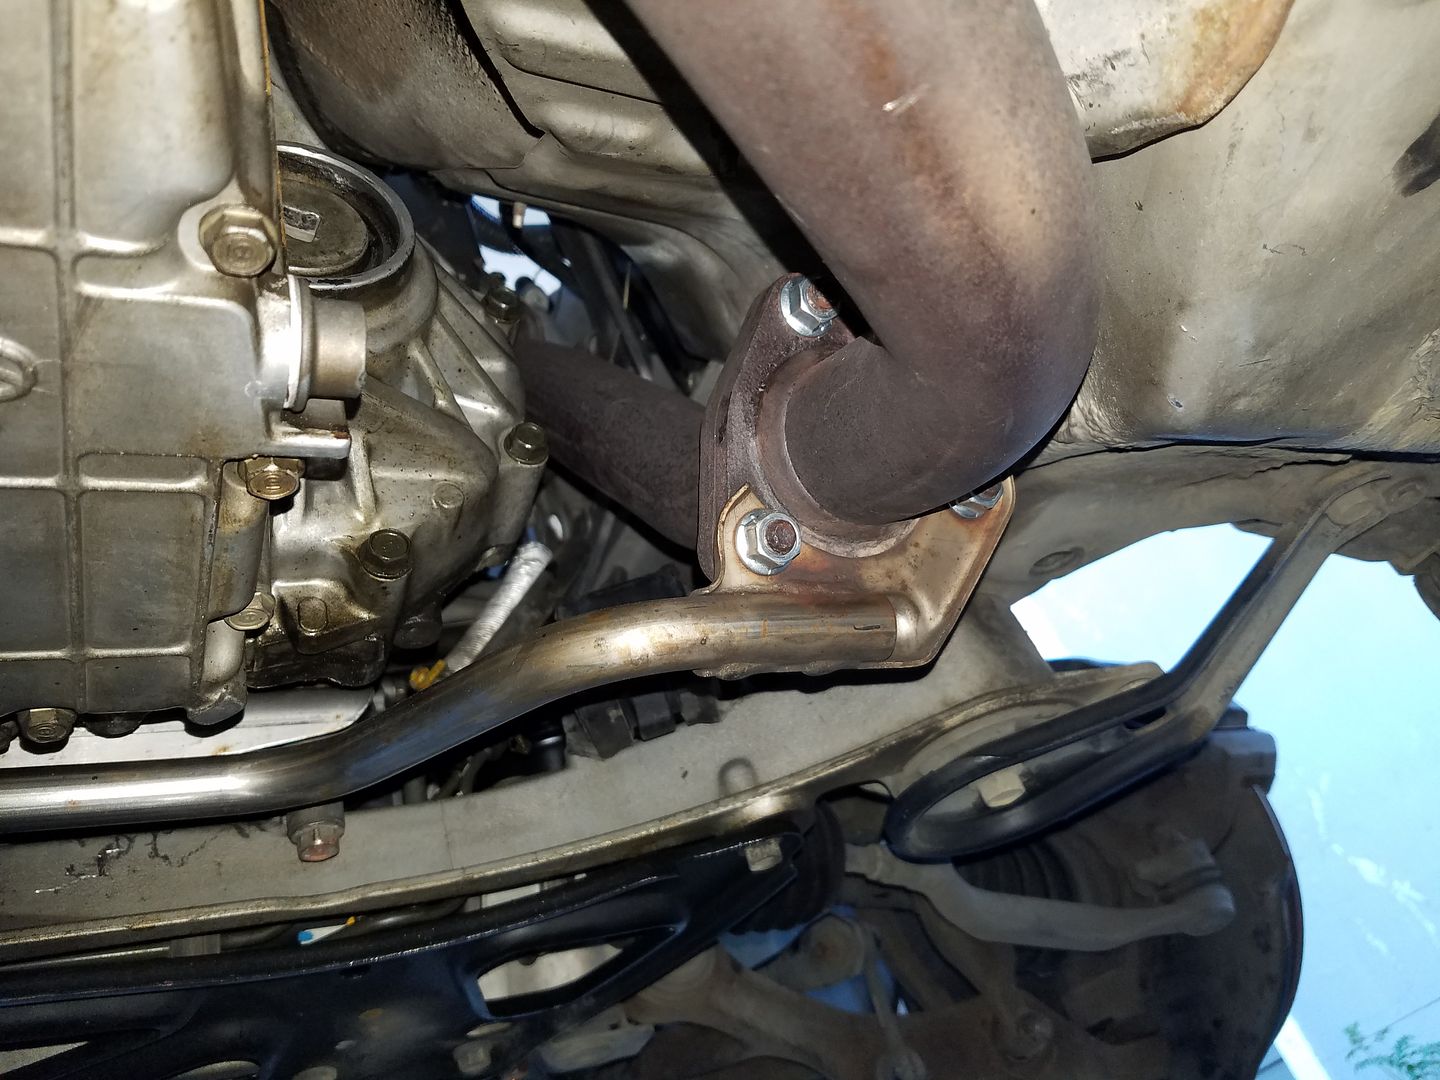 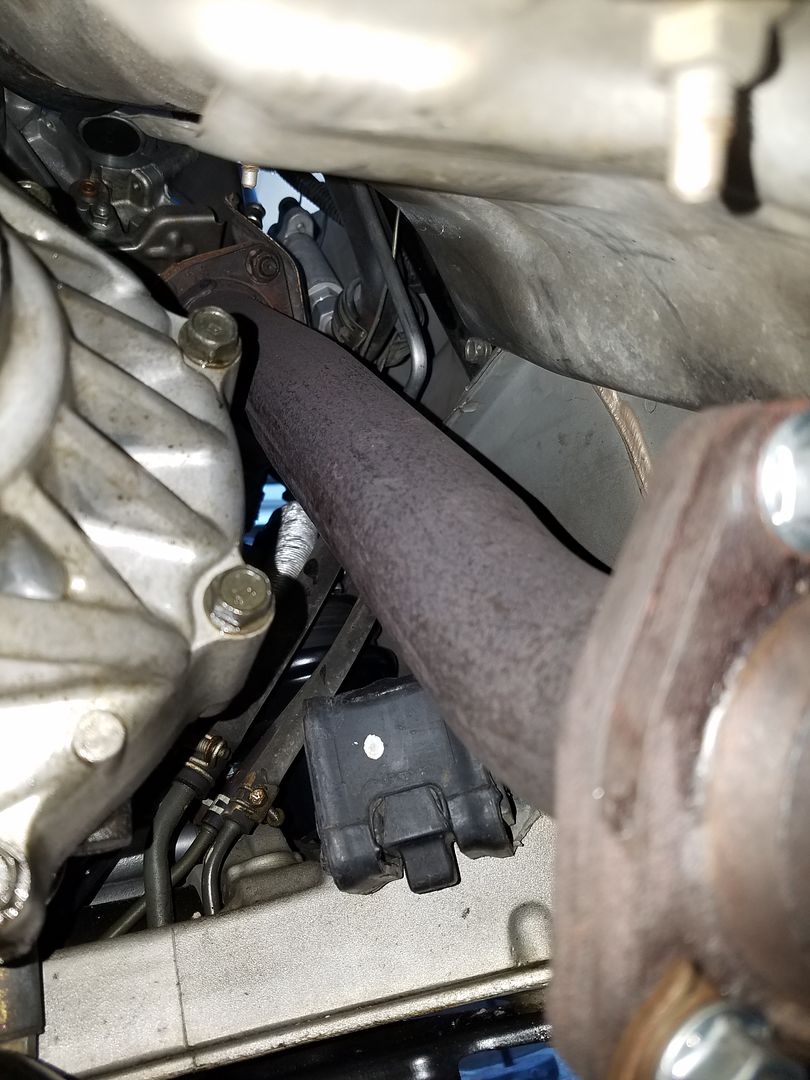 Moving on, the axles and damper forks are installed. The car has sat for a few weeks, so I put a little grease on the splines before installing the axles. Since I didn't remove the axles from the hubs when I removed the engine, I pushed a little too hard on the right axle's inner joint's boot, which caused the small clamped end to loosen. Fortunately, I had a couple extra clamps in the garage. I'm just about done under the car for now. Thank goodness. Sent from my SM-G935V using Tapatalk
__________________
My 1999 Acura RL "Build": http://forums.acuralegend.org/showthread.php?t=34510 Last edited by byalegend; 08-27-2016 at 12:21 AM. |
|
|

|
|
|
#13 |
|
Senior Member
Join Date: Jun 2009
Location: WA
Posts: 1,632
 |
I was just about finished up top when I got stopped by a missing lower radiator cushion. The radiator was replaced at some point, and I don't think the cushion was even installed on the radiator when I removed it from the car. The good thing is that the cushions are fairly universal to Hondas, and I found one on CL about 1/2 mile from my house for $5 (dealer wanted $20, and they weren't in stock)
 The coolant reservoir took awhile to clean because of the oil and coolant mixture. I had to stuff paper towels in it then work them around with a screwdriver. Also, I sprayed out the radiator as much as I could with water. There wasn't much left in it, since I didn't notice that the chocolate shake leaked out of the radiator and all over the floor in my garage. 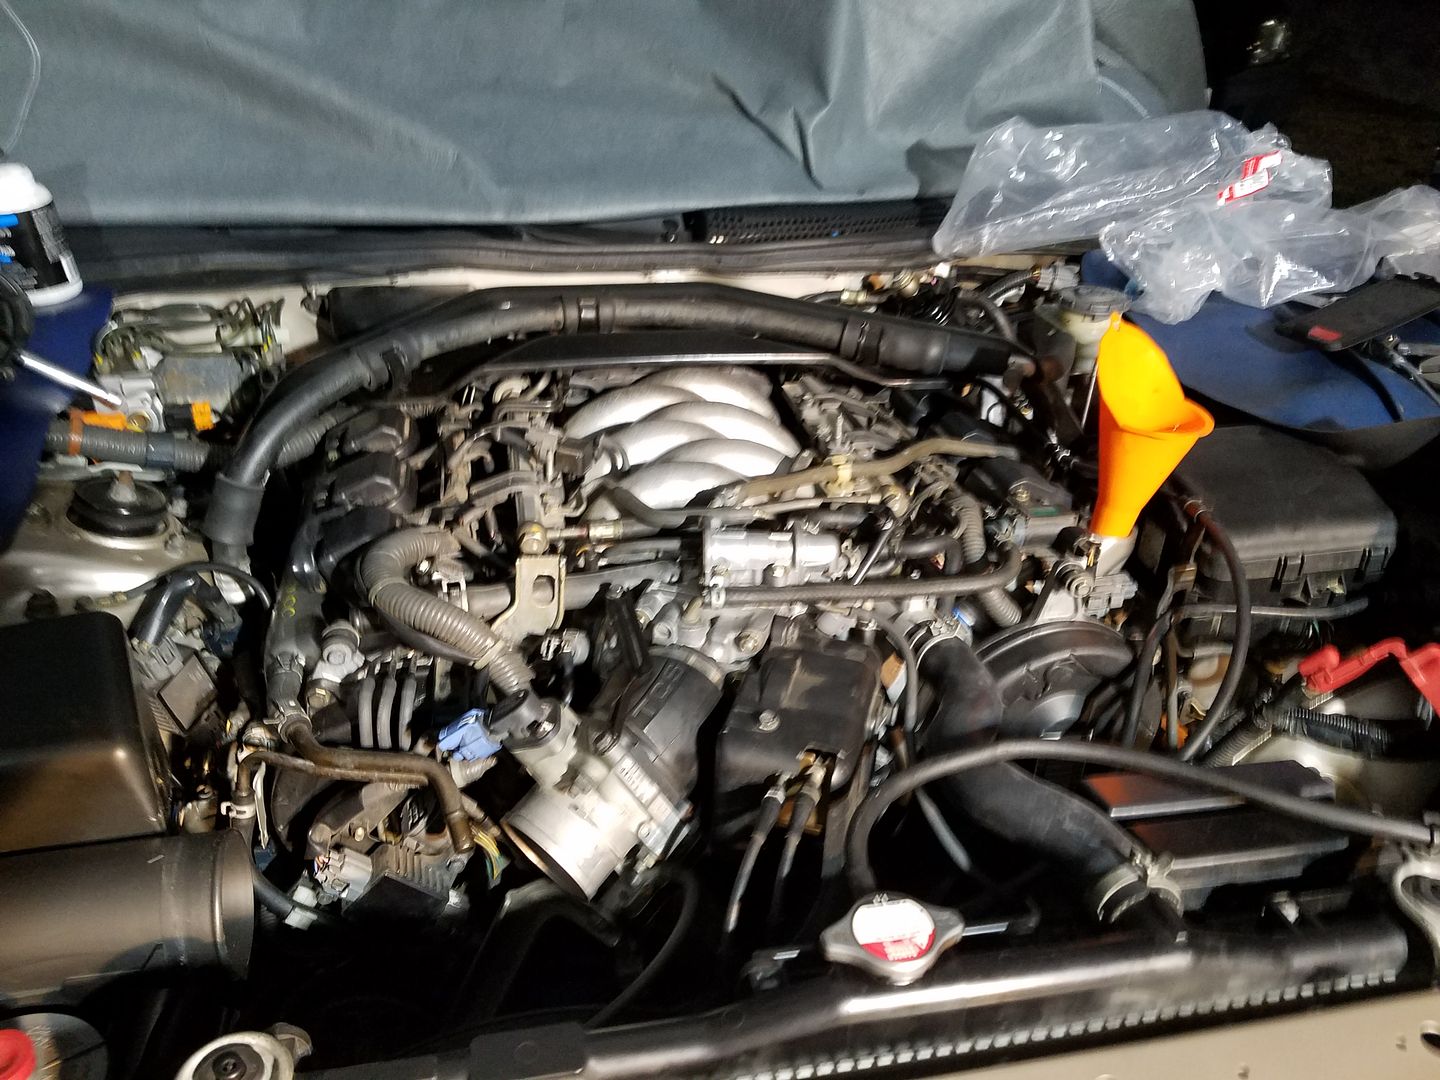 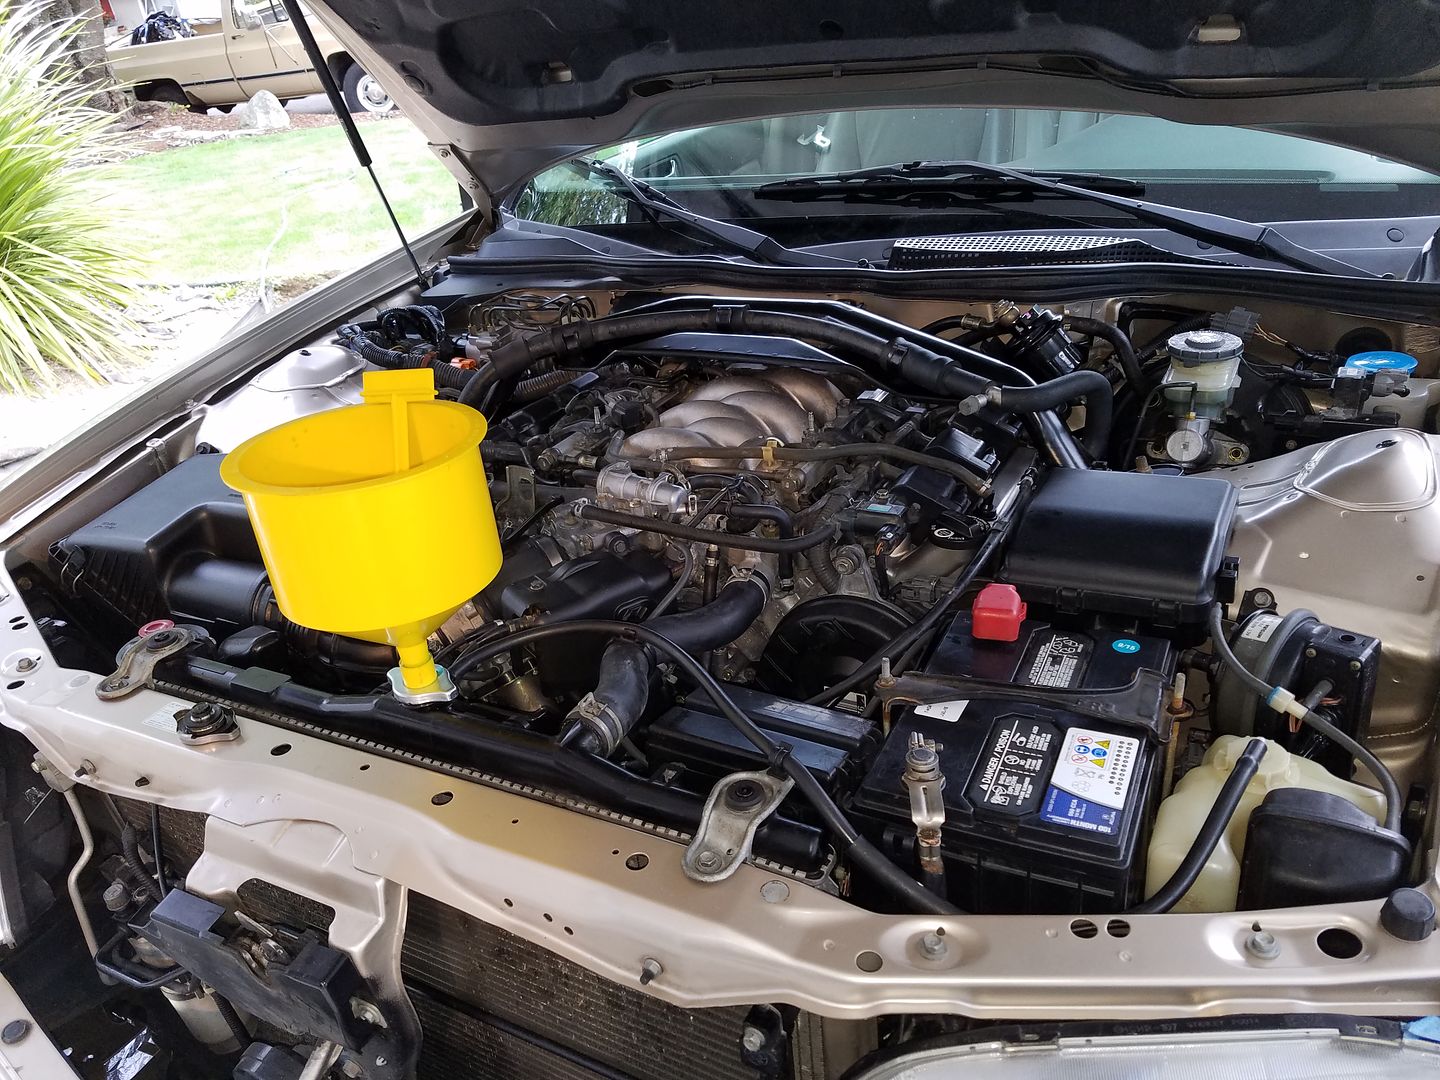 I changed the engine oil and oil filter then added gear oil (hate messing with that stuff), trans fluid, and coolant. Time to crank it up. To start the car, I removed the fuel pump fuse then cranked the engine several times to get the oil circulating. The moment of truth...it started, but I got a P1399 code followed by several other related misfire codes. Hmm. My first thought was that I was a tooth off on the timing belt. Having had some experience with diagnosing misfire issues in the Legend and my mom's Altima, I started by pulling coil plugs. Right of the bat, I found that cylinder #1 was not firing correctly. I replaced the coil pack with one from the old engine - nope, still had a misfire. I then started pulling injector connectors, and I saw that the idle didn't drop when I pulled #1's connector. I checked injector resistances - they were all within spec, but I suspected that #1 was clogged. I swapped in an injector from the old engine - ah, that's the ticket. The one issue with the old engine's injector is that the bottom end has a smaller diameter; it appears that the intake manifolds are slightly different. So, I may have this engine's original injector cleaned at a local shop and eventually have them all cleaned at $32 a piece...or swap manifolds and use the old injectors to hopefully avoid the cost (not looking forward to swapping the manifolds or the injectors - don't like playing with gas, but I have the intake gasket kit still in its package - hmm). The car still takes several cranks to start when cold, and the throttle response and idle aren't good for the first few minutes. I have some BG44K that I'll probably add to my next tank of gas to clean the fuel system. Before the injector replacement - using a bluetooth scan tool connected to an iPad to check codes. I like the location of the OBD-II port  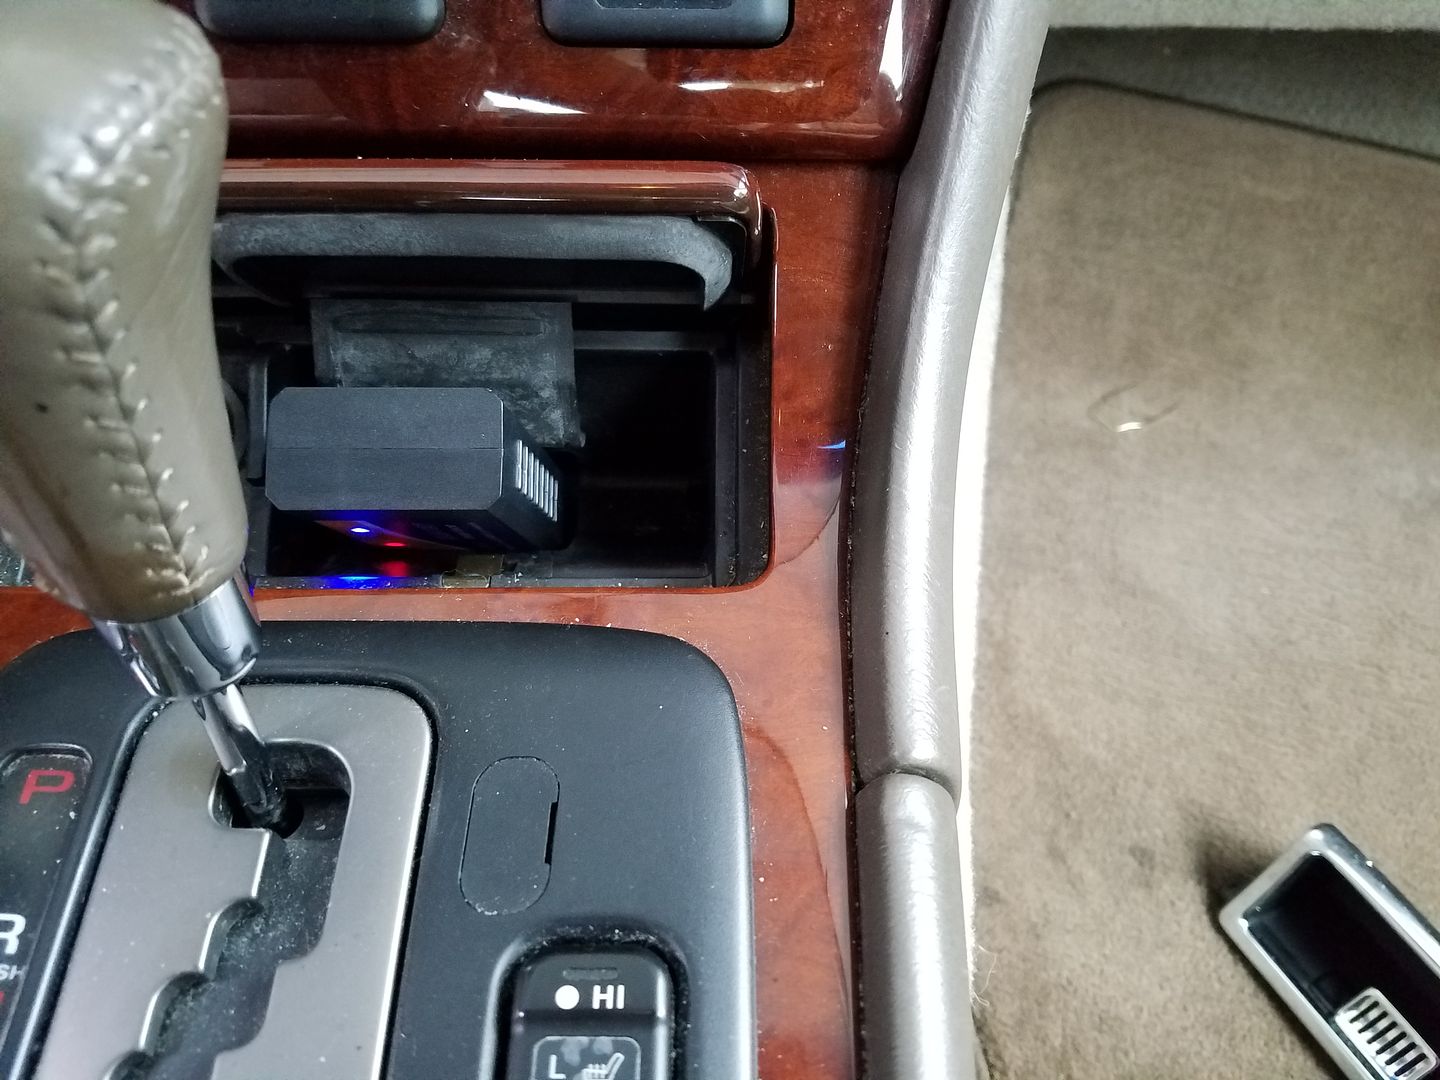 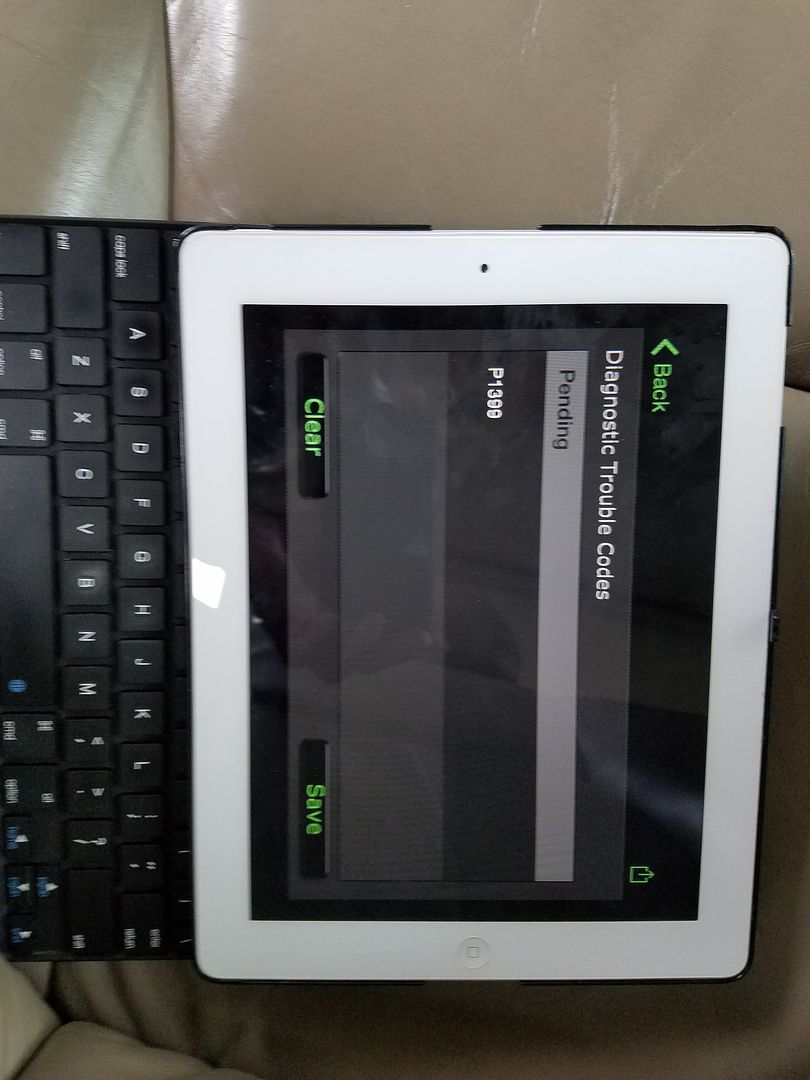 Video before injector replacement - running on five cylinders (loud ticking): http://vid775.photobucket.com/albums...psqfbkzfid.mp4 http://vid775.photobucket.com/albums...pswrjp3ple.mp4 Video after injector replacement: http://vid775.photobucket.com/albums...ps1uppiapq.mp4 http://vid775.photobucket.com/albums...psqawkeujv.mp4 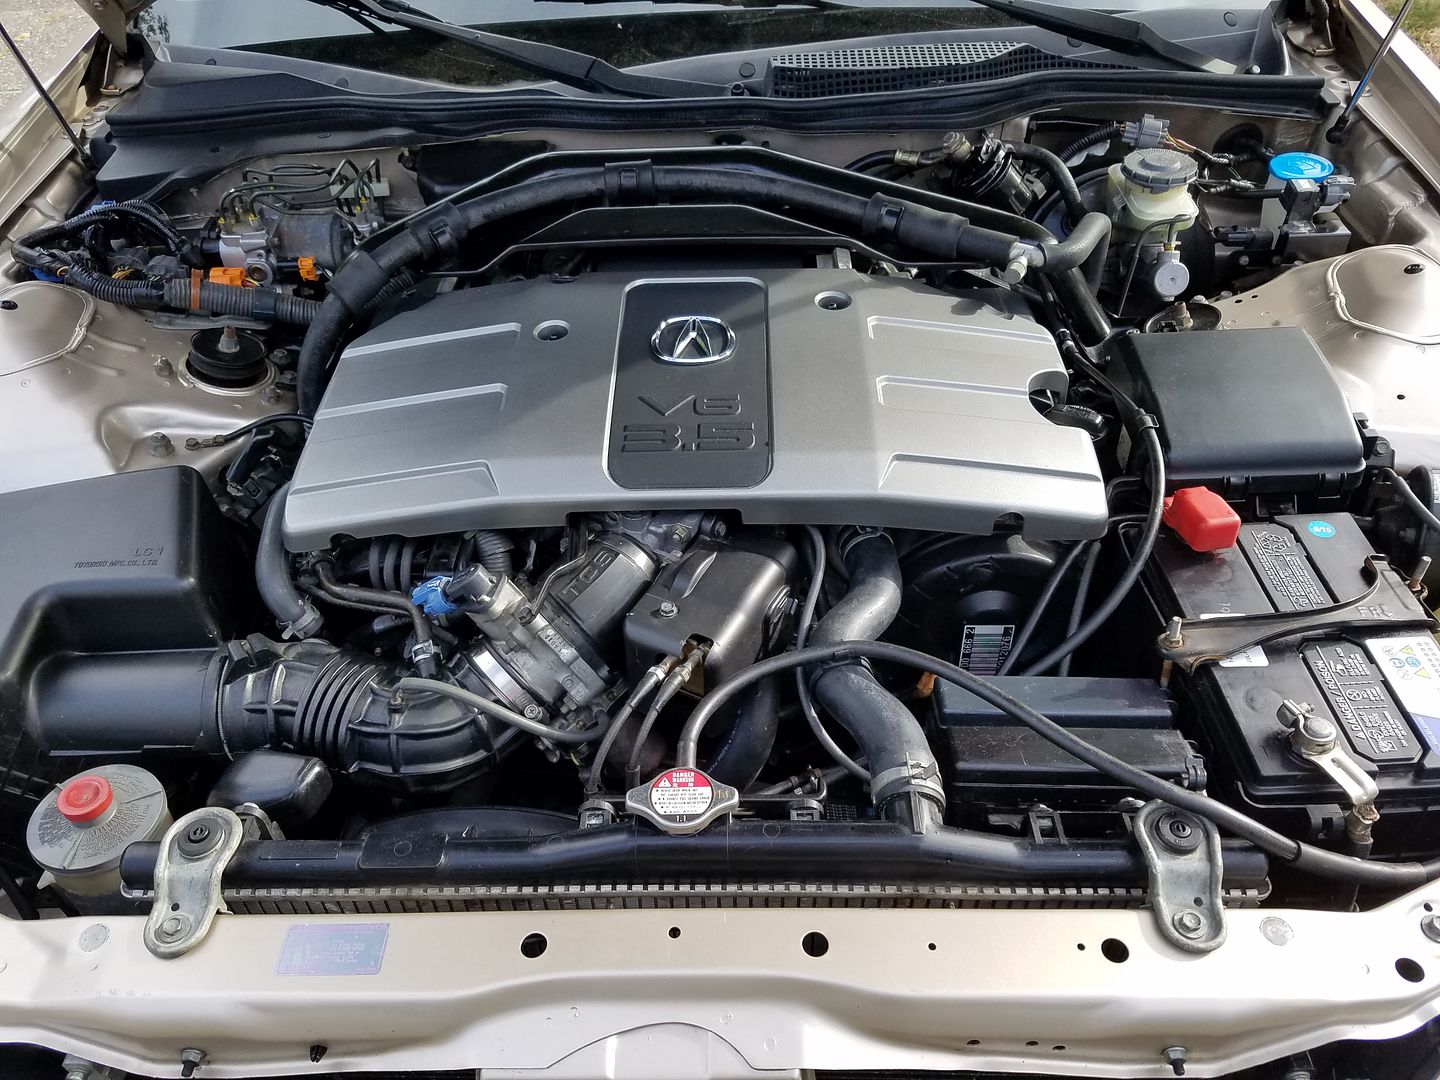 Hopefully, I'll be taking the RL to have an emissions test done this coming week. Up next: An exterior detail. Sent from my SM-G935V using Tapatalk
__________________
My 1999 Acura RL "Build": http://forums.acuralegend.org/showthread.php?t=34510 Last edited by byalegend; 09-03-2016 at 04:44 PM. |
|
|

|
|
|
#14 |
|
Banned
Join Date: Jun 2009
Location: SoCal
Posts: 7,249
      |
AMAZING work man! That engine and bay look pristine too
 Sent from my SM-T813 using Tapatalk |
|
|

|
|
|
#15 | |
|
Senior Member
Join Date: Jun 2009
Location: WA
Posts: 1,632
 |
Quote:
 Passed emissions. The car drove great today. I think whatever buildup was in the fuel system from the engine sitting for a while is working its way through: 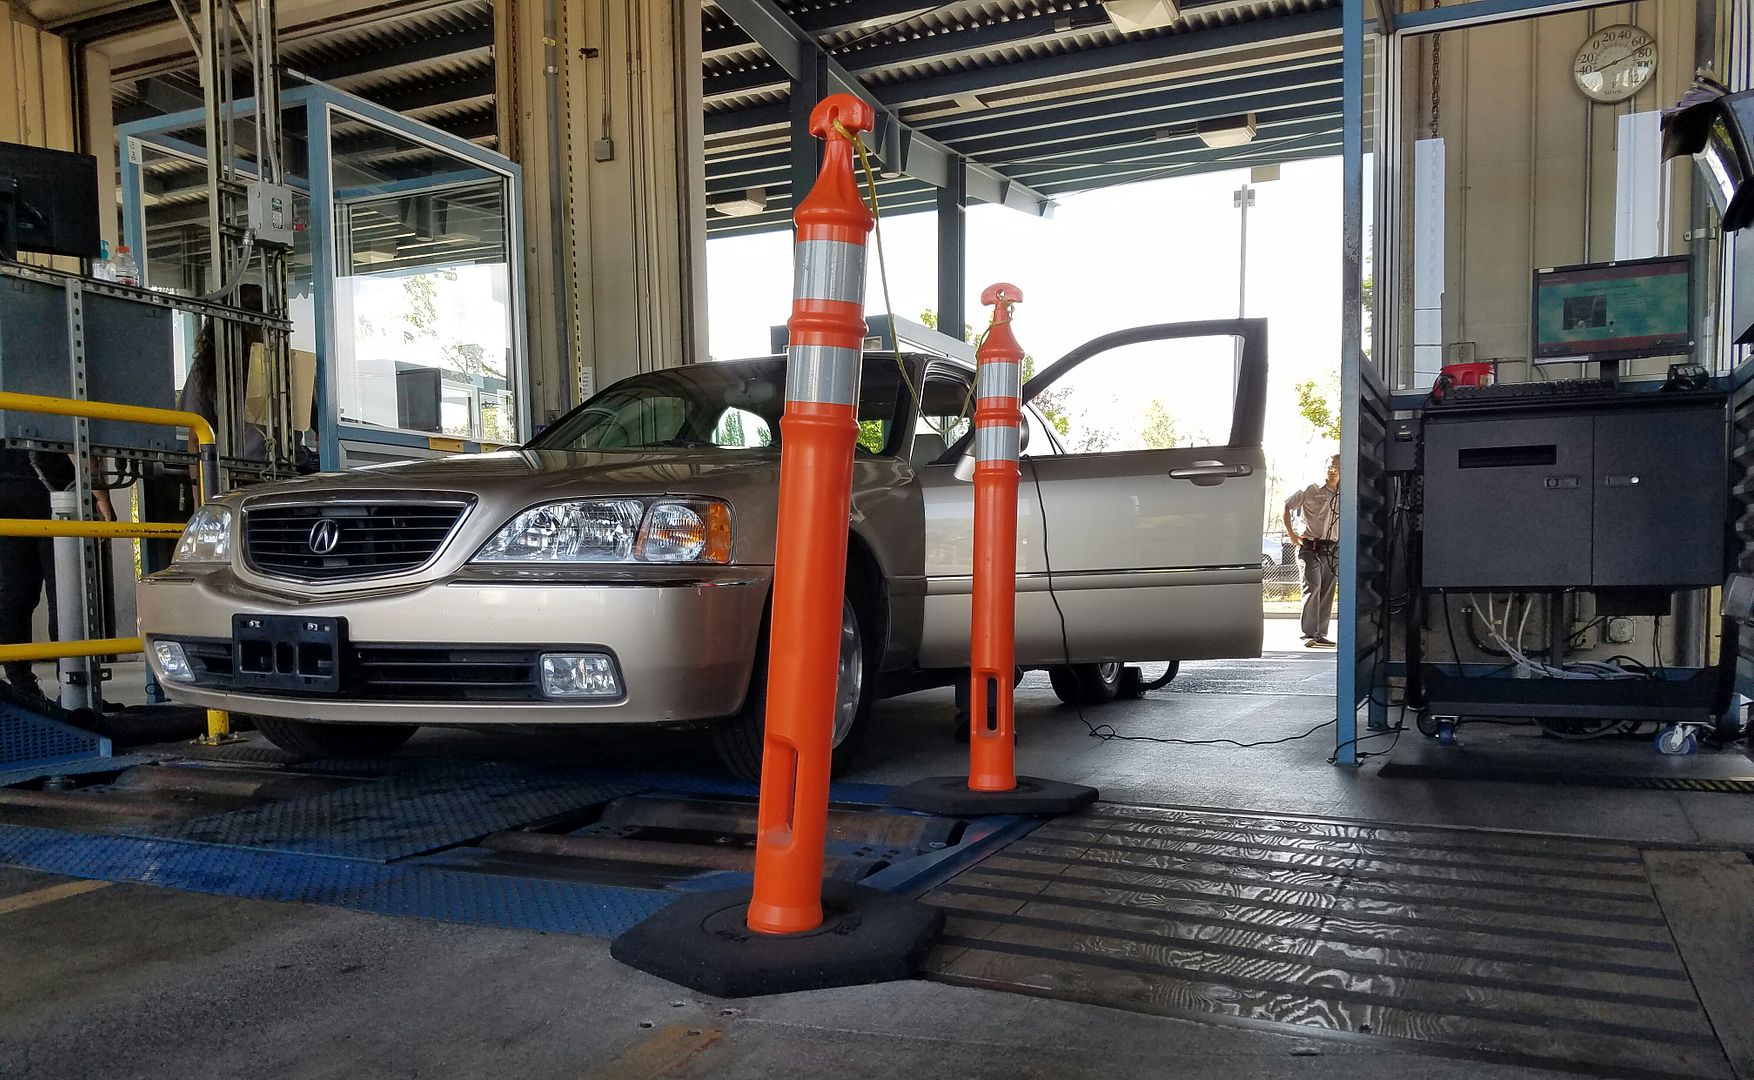 Yeah, I was driving around in a stolen car  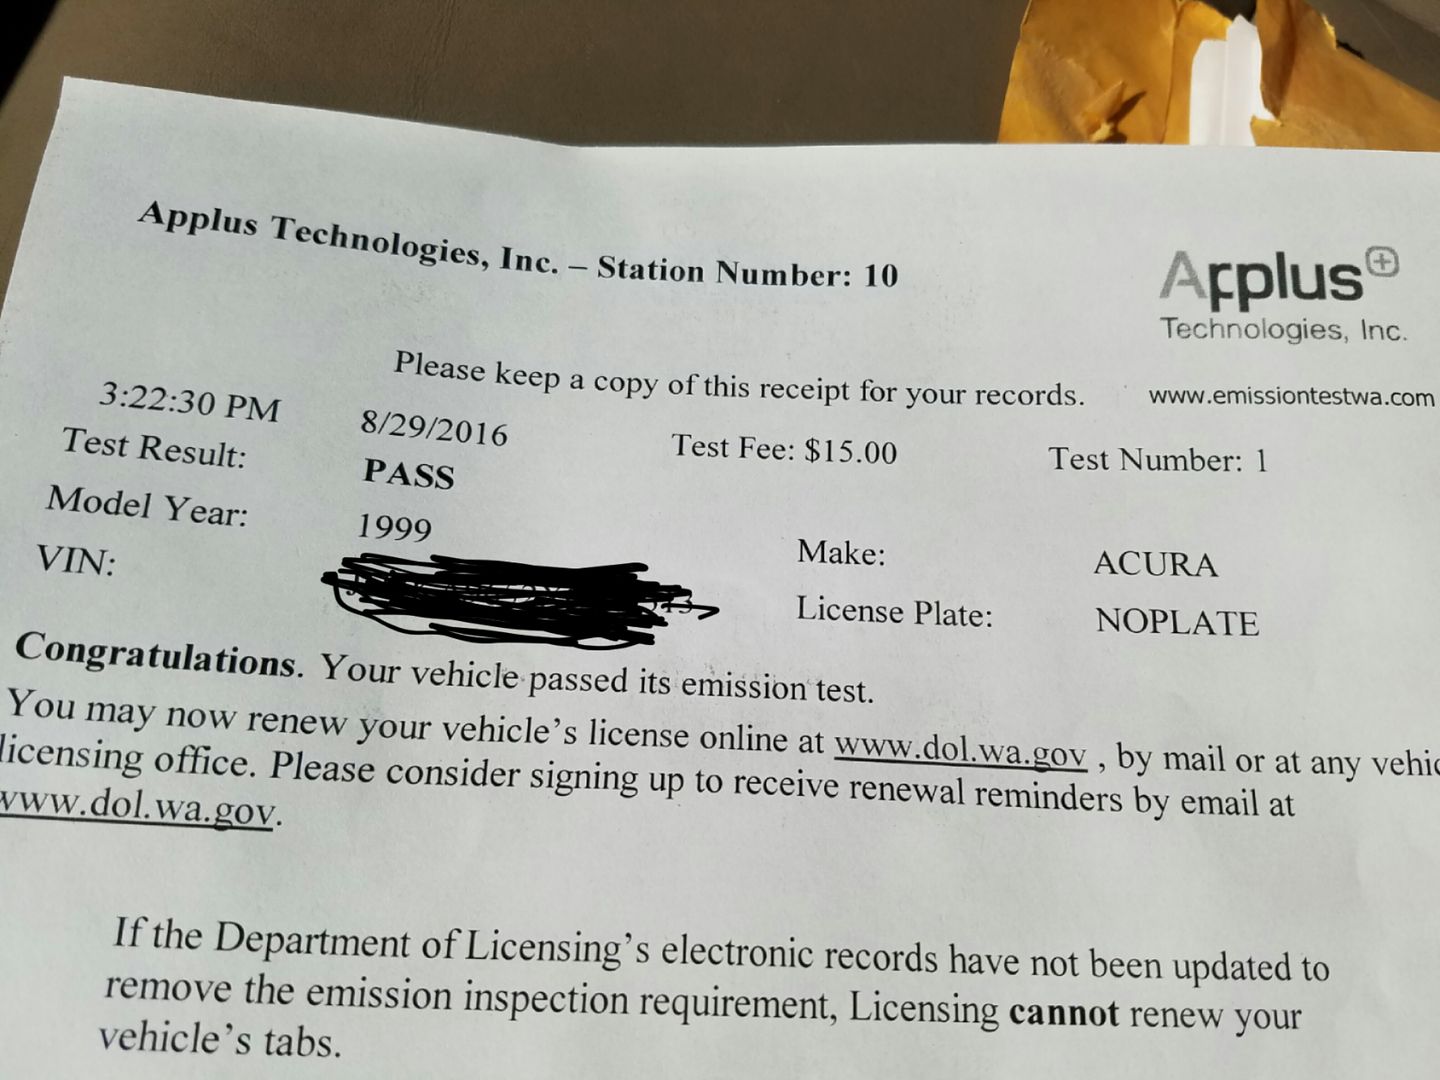 Sent from my SM-G935V using Tapatalk
__________________
My 1999 Acura RL "Build": http://forums.acuralegend.org/showthread.php?t=34510 Last edited by byalegend; 08-31-2016 at 02:48 PM. |
|
|
|

|
|
|
#16 |
|
Legend Grasshopper
Join Date: Aug 2013
Location: Fredericksburg, TX
Posts: 262
Real Name: Matt
 |
This is great work. Very thorough and meticulous engine work to go with a great shell.
Sent from my Nexus 5 using Tapatalk |
|
|

|
|
|
#17 |
|
Legend Grasshopper
Join Date: Aug 2013
Location: Fredericksburg, TX
Posts: 262
Real Name: Matt
 |
Have you thought of sending your injectors to WitchHunter? $22 per injector (before shipping).
Sent from my Nexus 5 using Tapatalk |
|
|

|
|
|
#18 |
|
Legends to go,please
Join Date: Jun 2009
Location: Florida
Posts: 3,946
   |
Wow! Incredible amount of work into this project.
 Post #1 mentions heater care as a potential cause on the BHG, But I never saw any mention of it later (or did I miss it?). Post #1 mentions heater care as a potential cause on the BHG, But I never saw any mention of it later (or did I miss it?).
__________________

|
|
|

|
|
|
#19 | ||
|
Senior Member
Join Date: Jun 2009
Location: WA
Posts: 1,632
 |
Quote:
 Quote:
I spent about 12 hours yesterday detailing the exterior. Since the paint is 17 years old, I was not going for perfection and risk thinning the remaining clear coat. Also, this was not meant to be a thorough exterior detail. (1) I gave the car a bath with dish detergent to remove any wax or buildup on the paint. (2) I proceeded to clay bar the paint to get rid of the impurities. This took a couple hours, but the paint wasn't badly contaminated. The typical locations, such as the front bumper, the hood, and the rear deck lid required the most work. I'd say the paint was pretty clean, as I only had to use one piece of clay and the clay is clean enough to be used again: 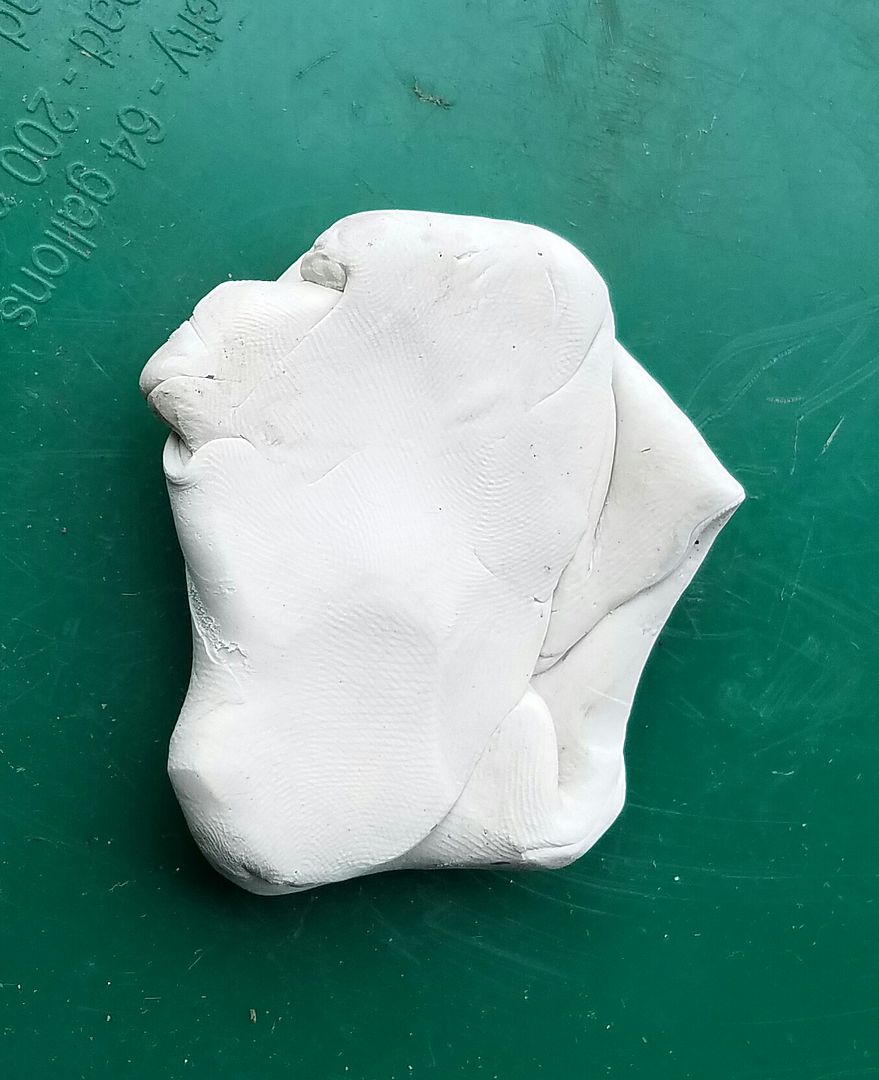 (3) I'd forgotten to remove the mud guards, so those came off next. I had to use a 12"-long screwdriver to reach one of the screws on the rear driver's side. 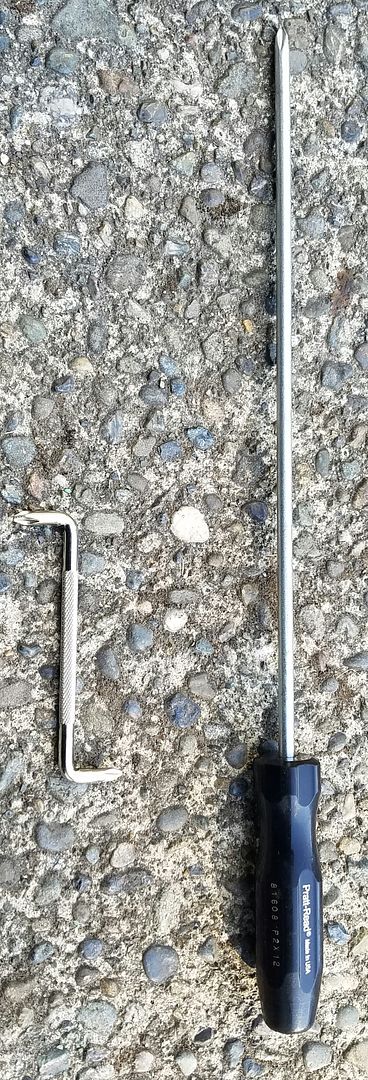 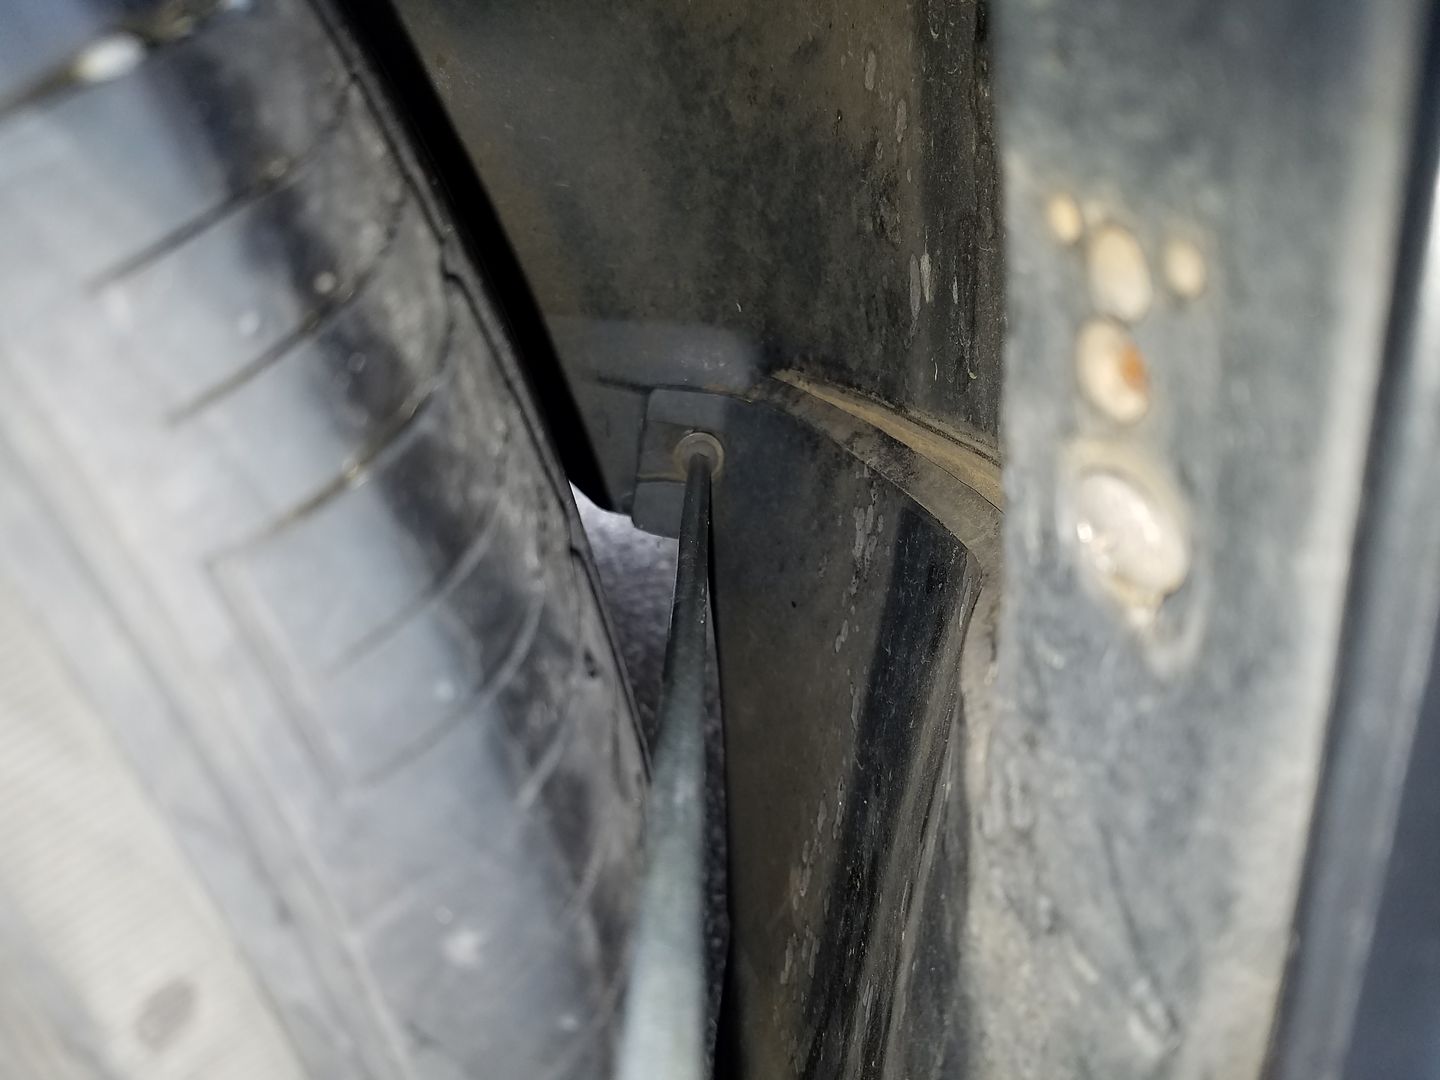 (3) Assessing the paint, there are a few tiny chips that have started to rust, so I'll have to keep them in mind to repair later. The paint is generally in good shape with the exception of the rear deck lid. It looks like the previous owner may have made a habit out of setting boxes or other items on the trunk lid 🙁 After testing a some spots, I settled on a couple passes with Meguiar's M105 on the Porter Cable 7424 polisher and a couple passes with M205 to finish. Lastly, after polishing, I washed the car a second time then dried it and applied Meguiar's NXT Tech Wax. Prep. Since I planned on replacing the front grille, I decided not to tape it: 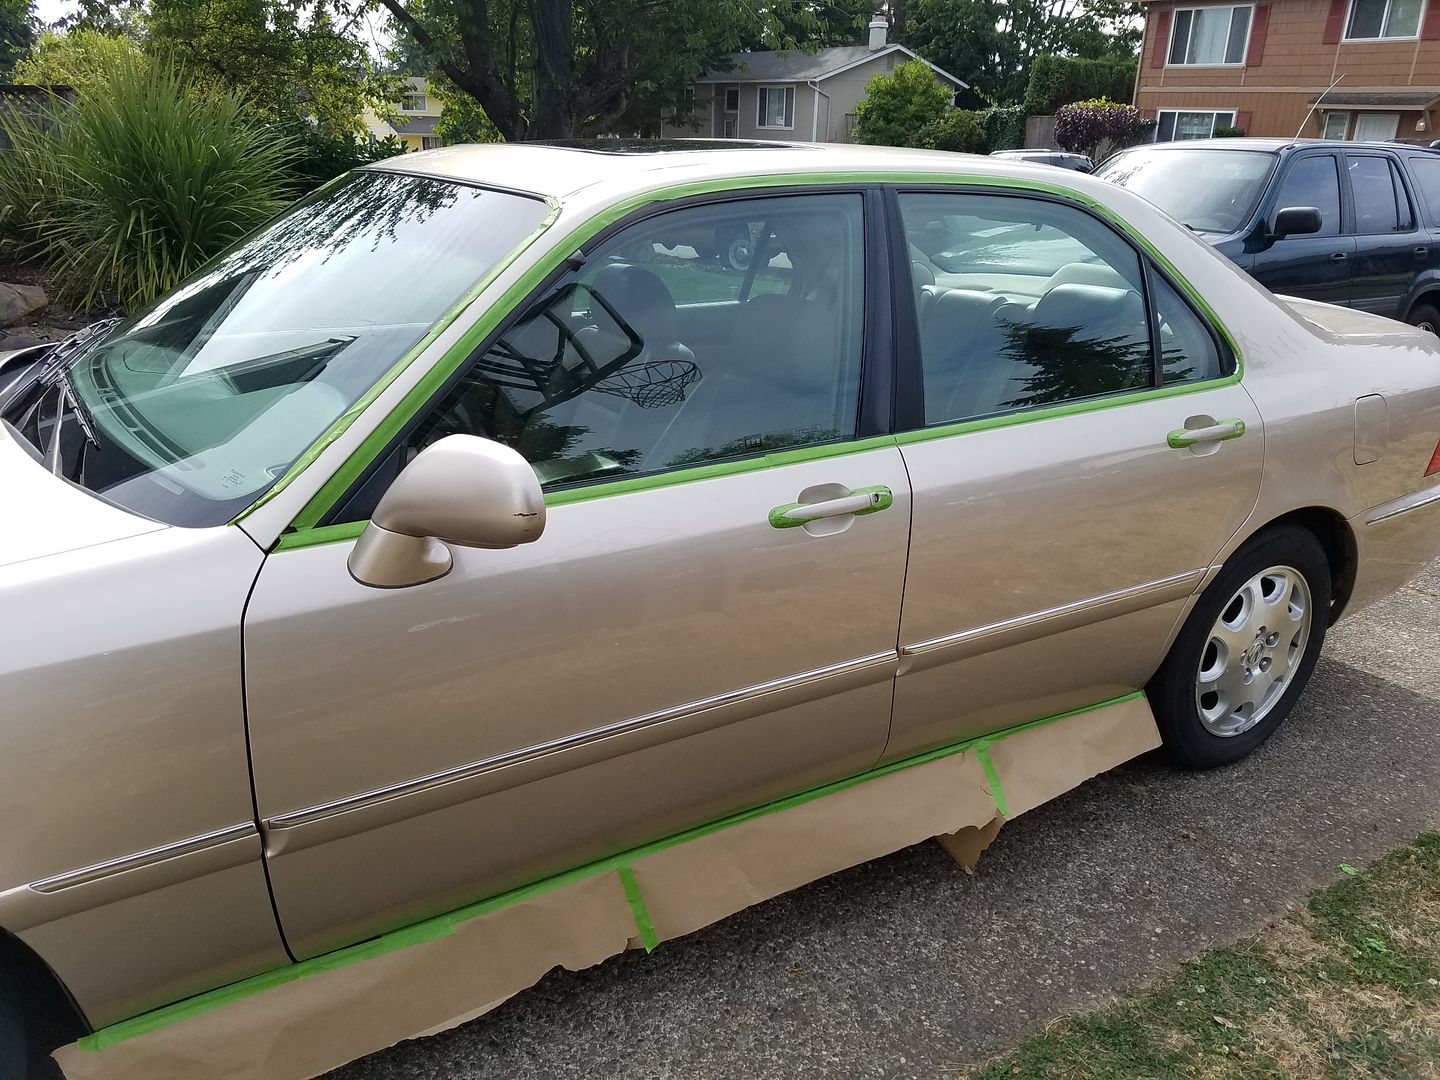 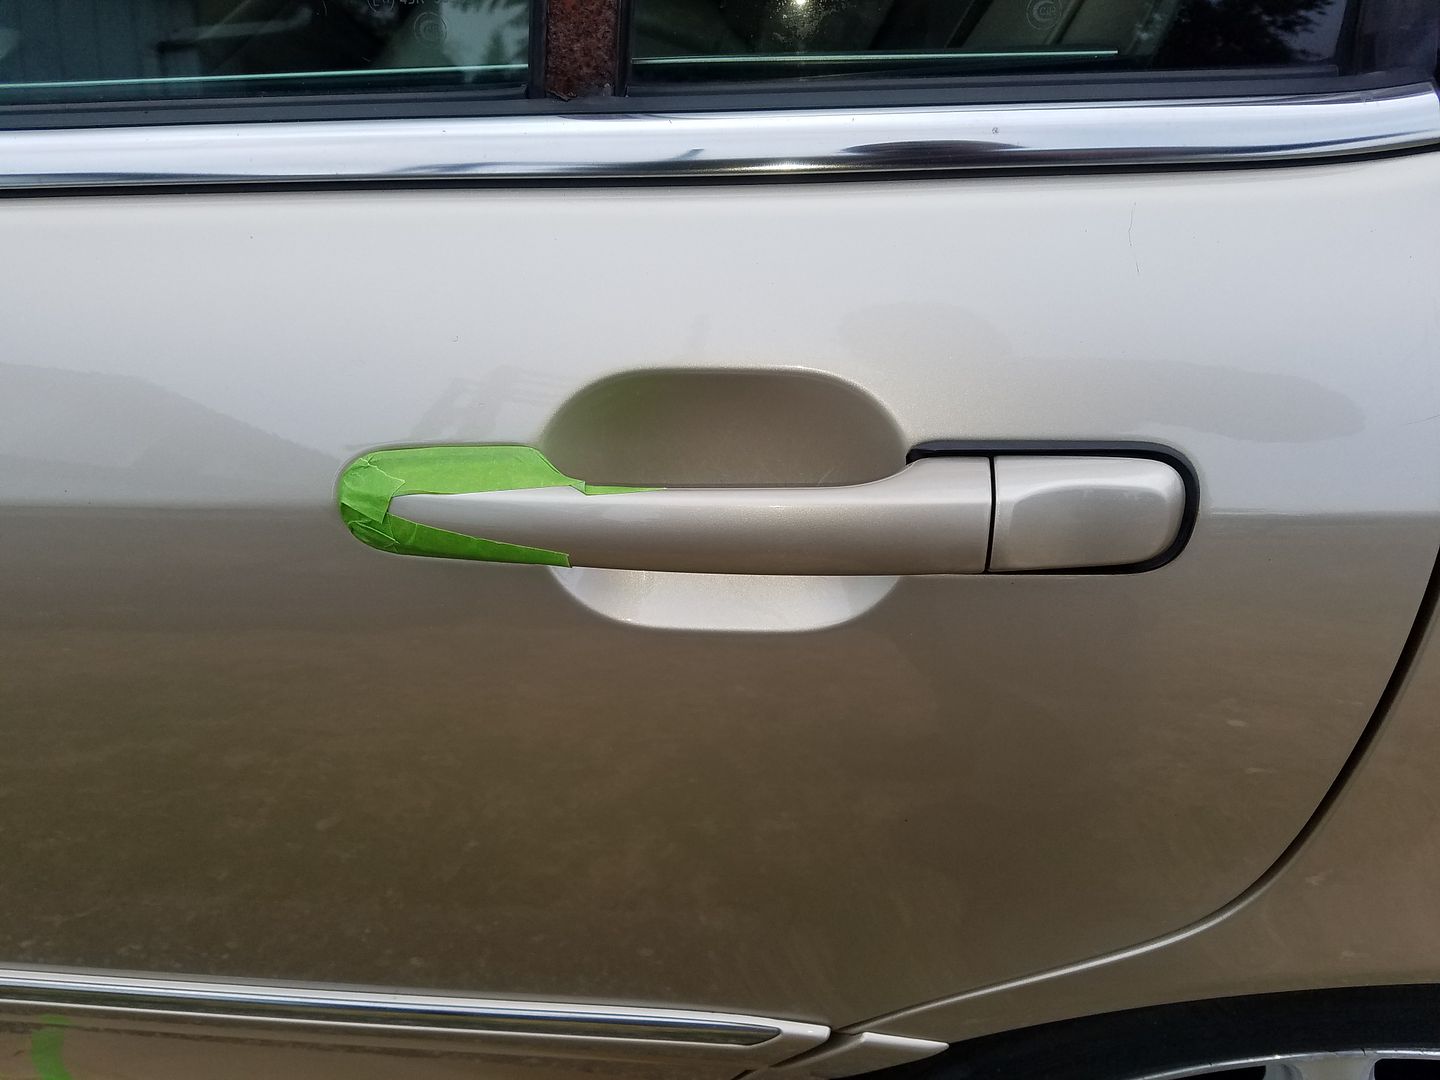 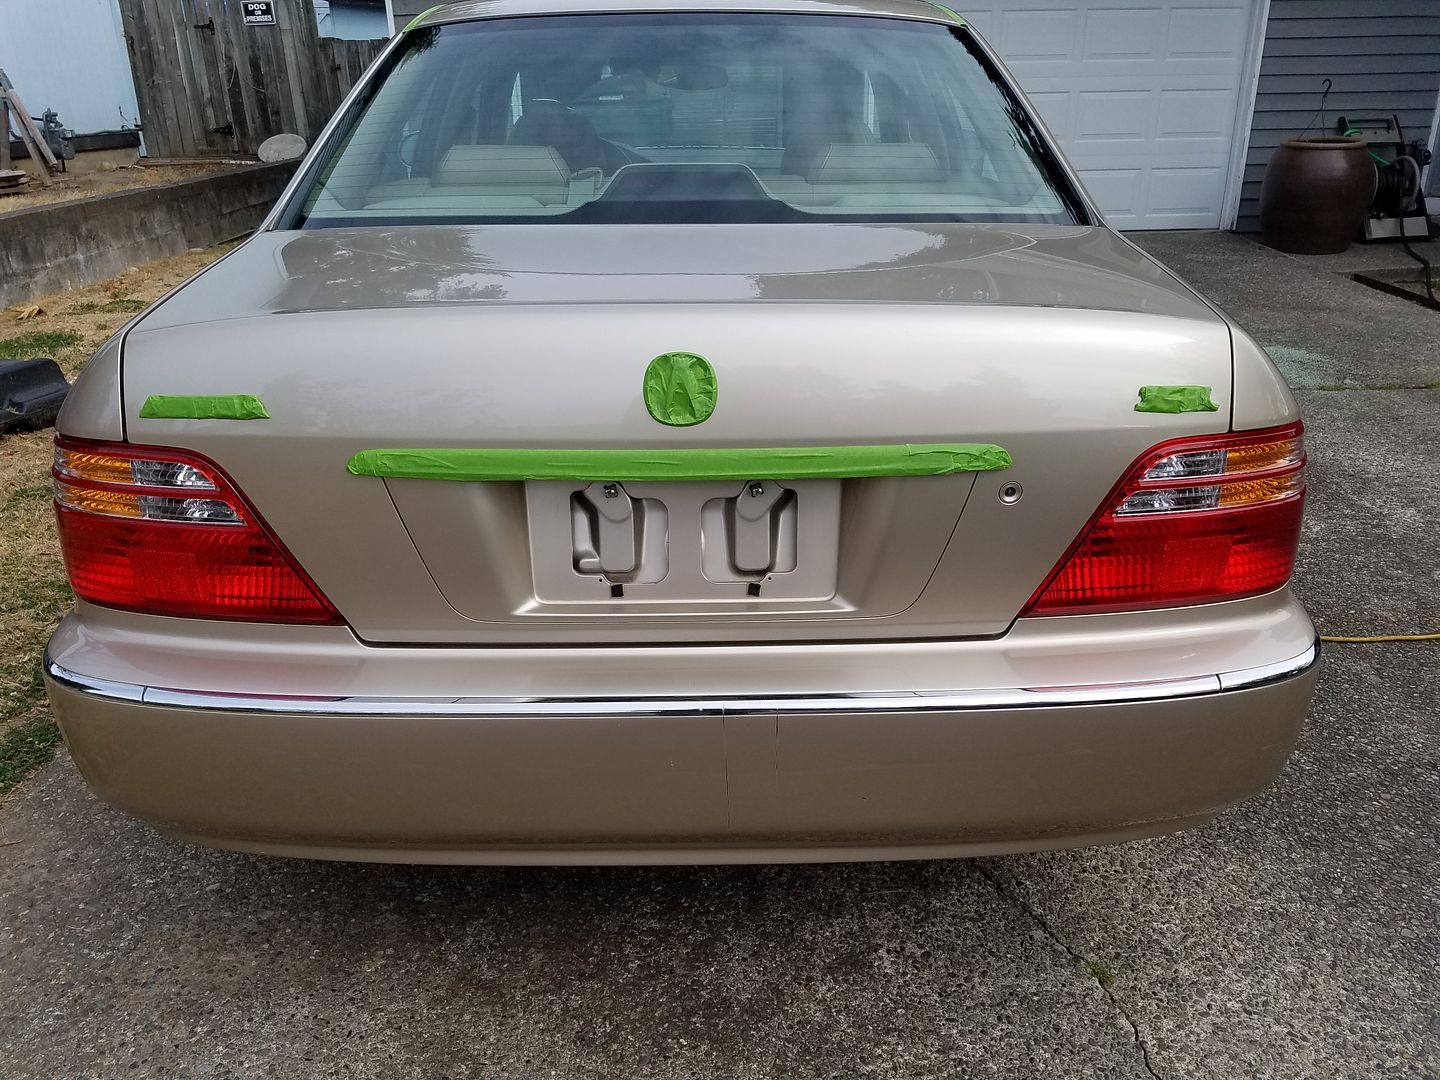 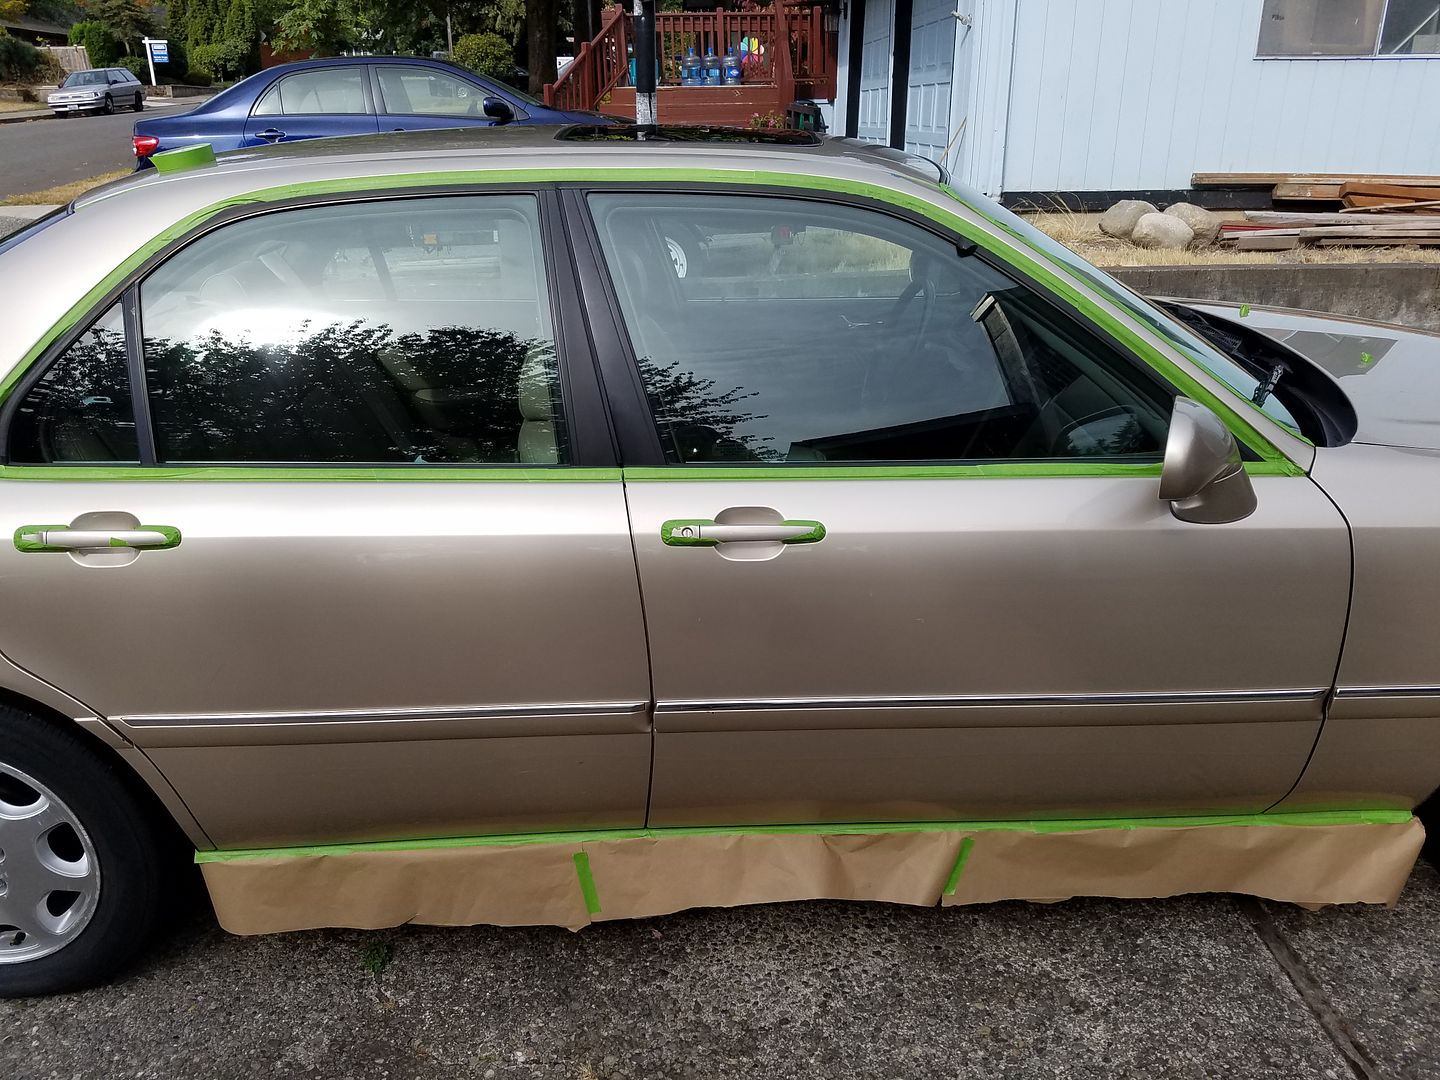 Before and after pics: Driver's mirror: 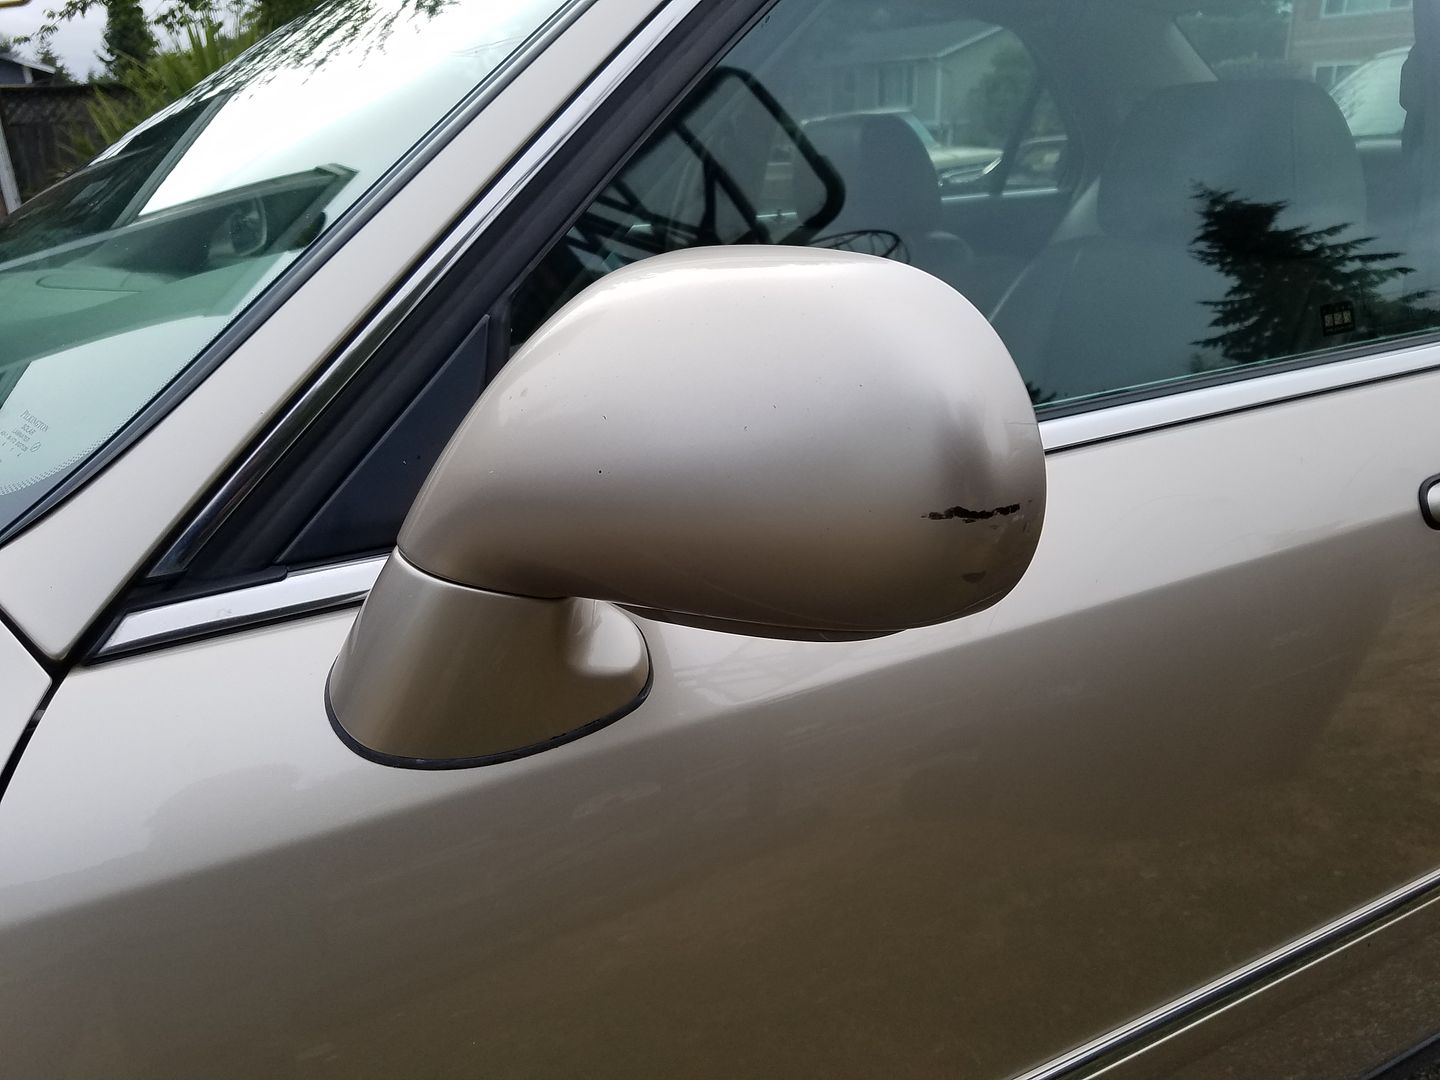 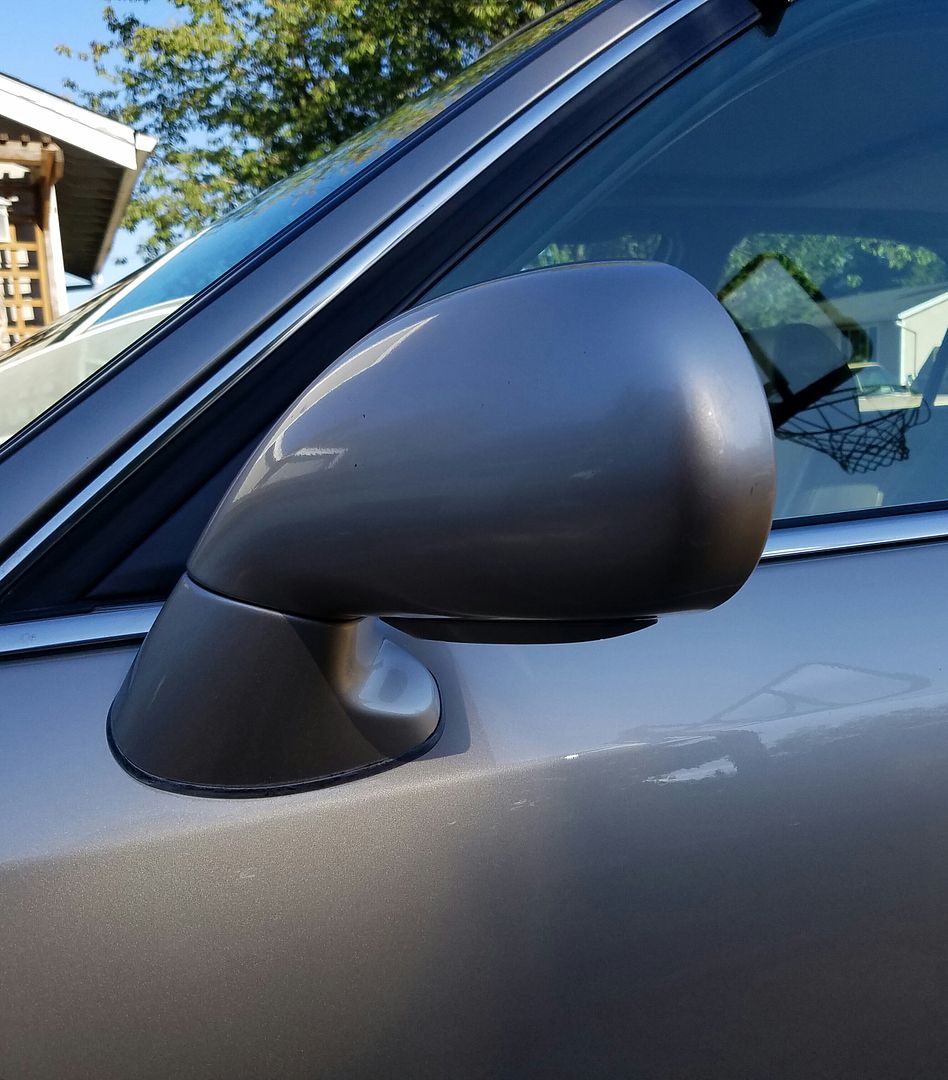 House paint (I think) on pillar. Wet sanded with 2000-grit then polished: 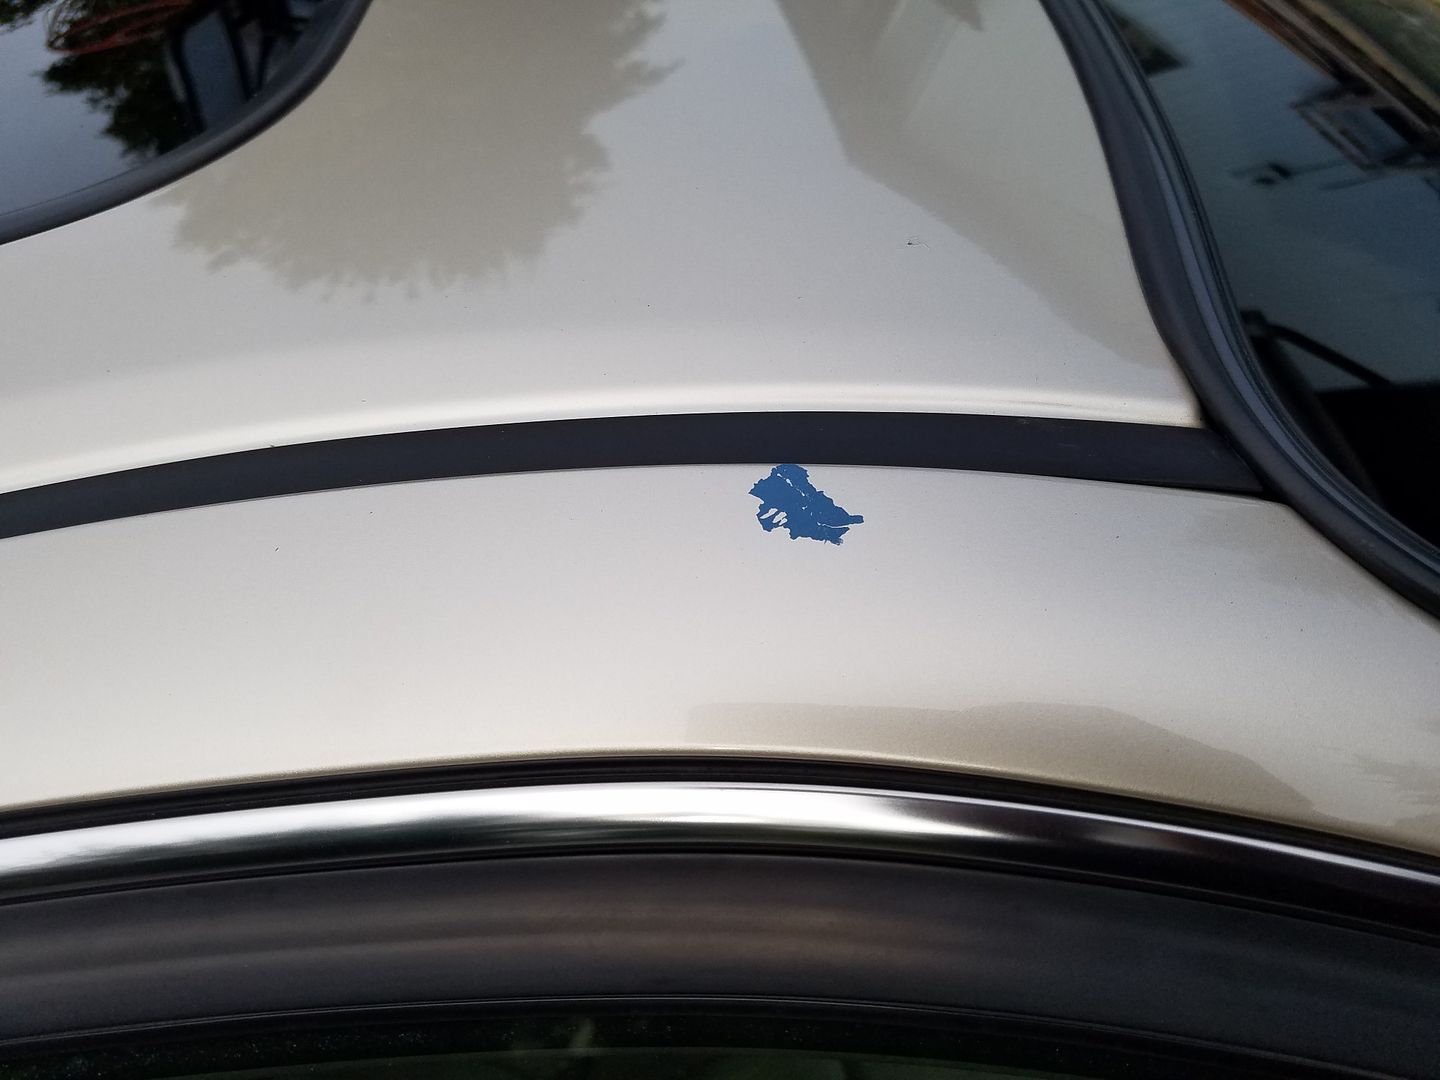 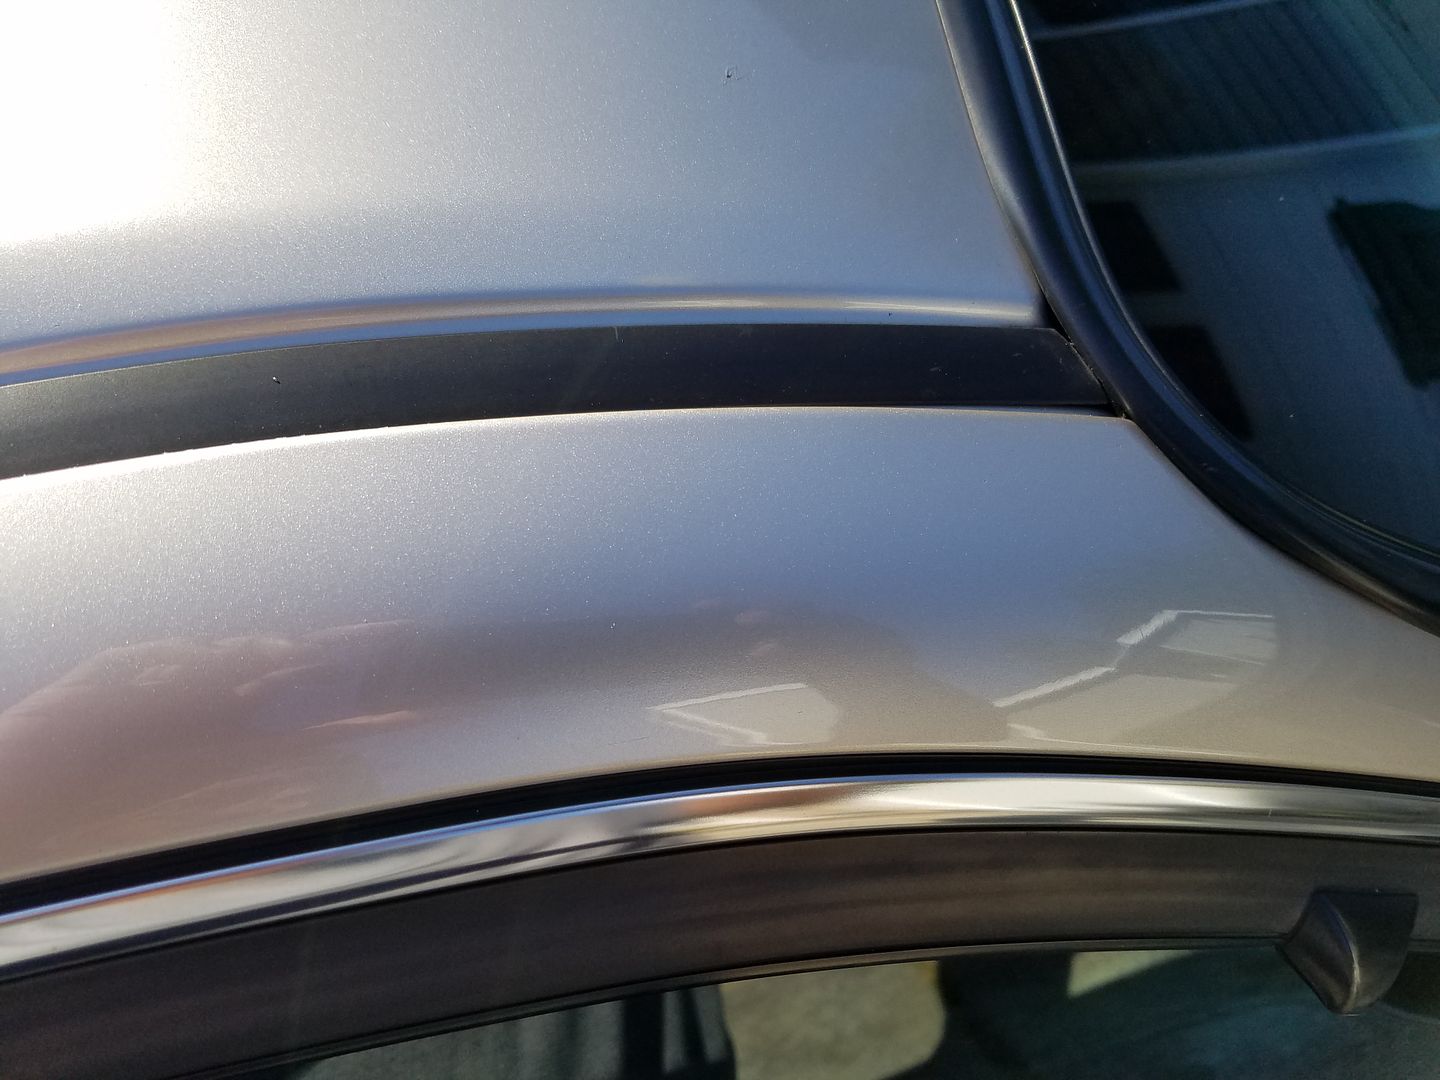 Rear deck lid: 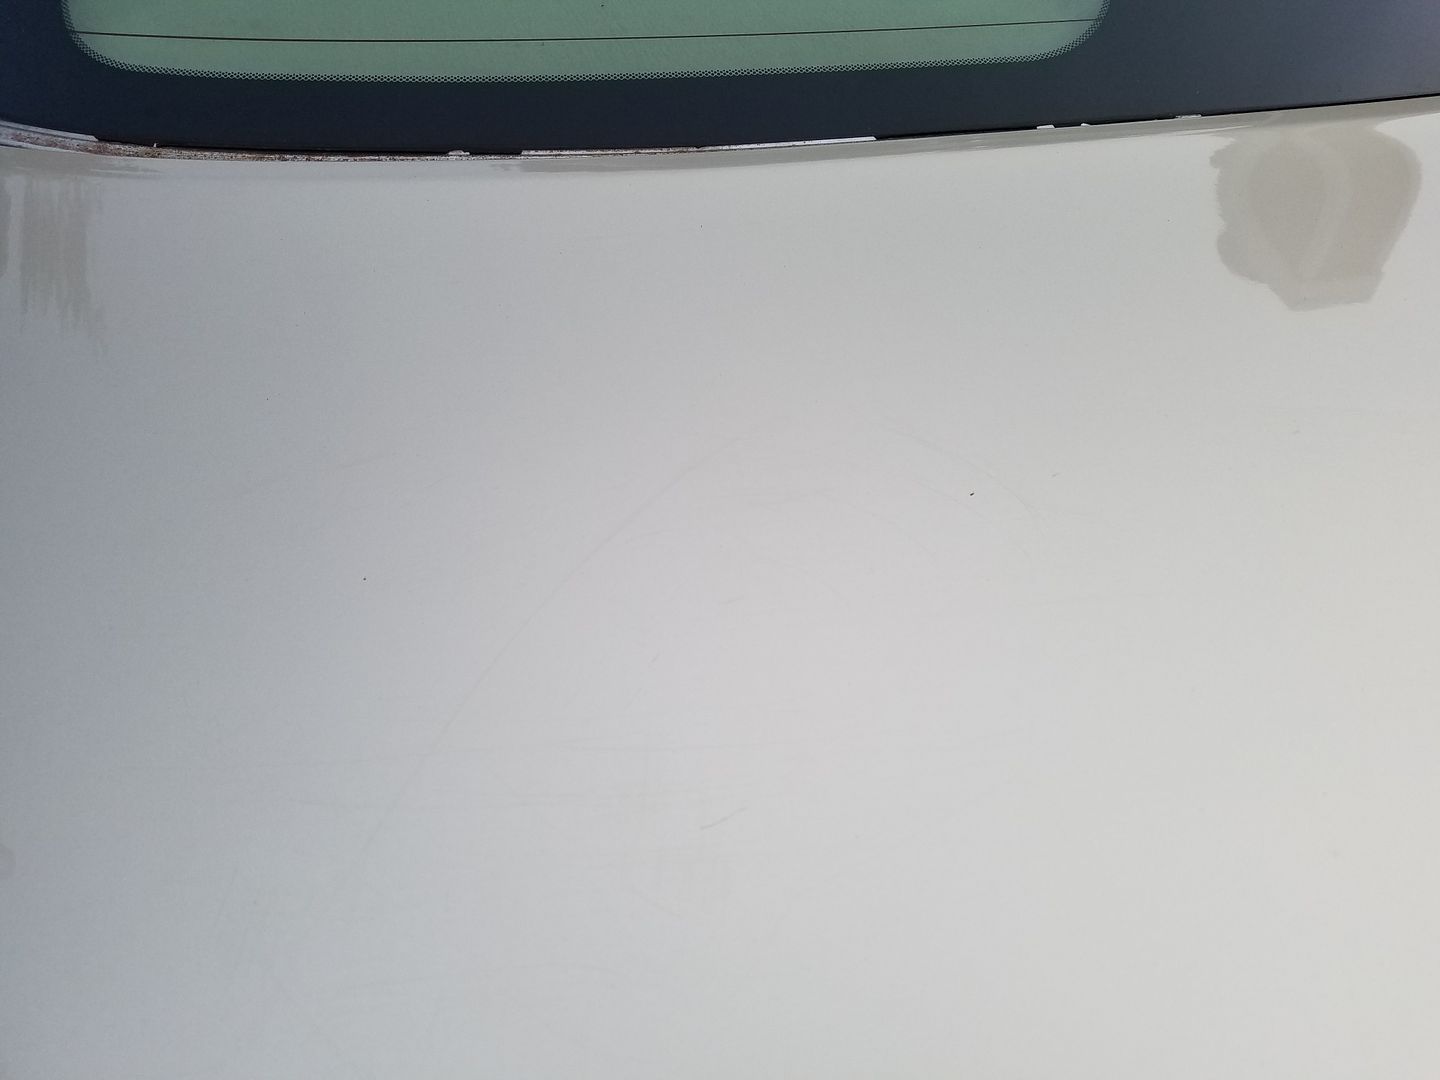 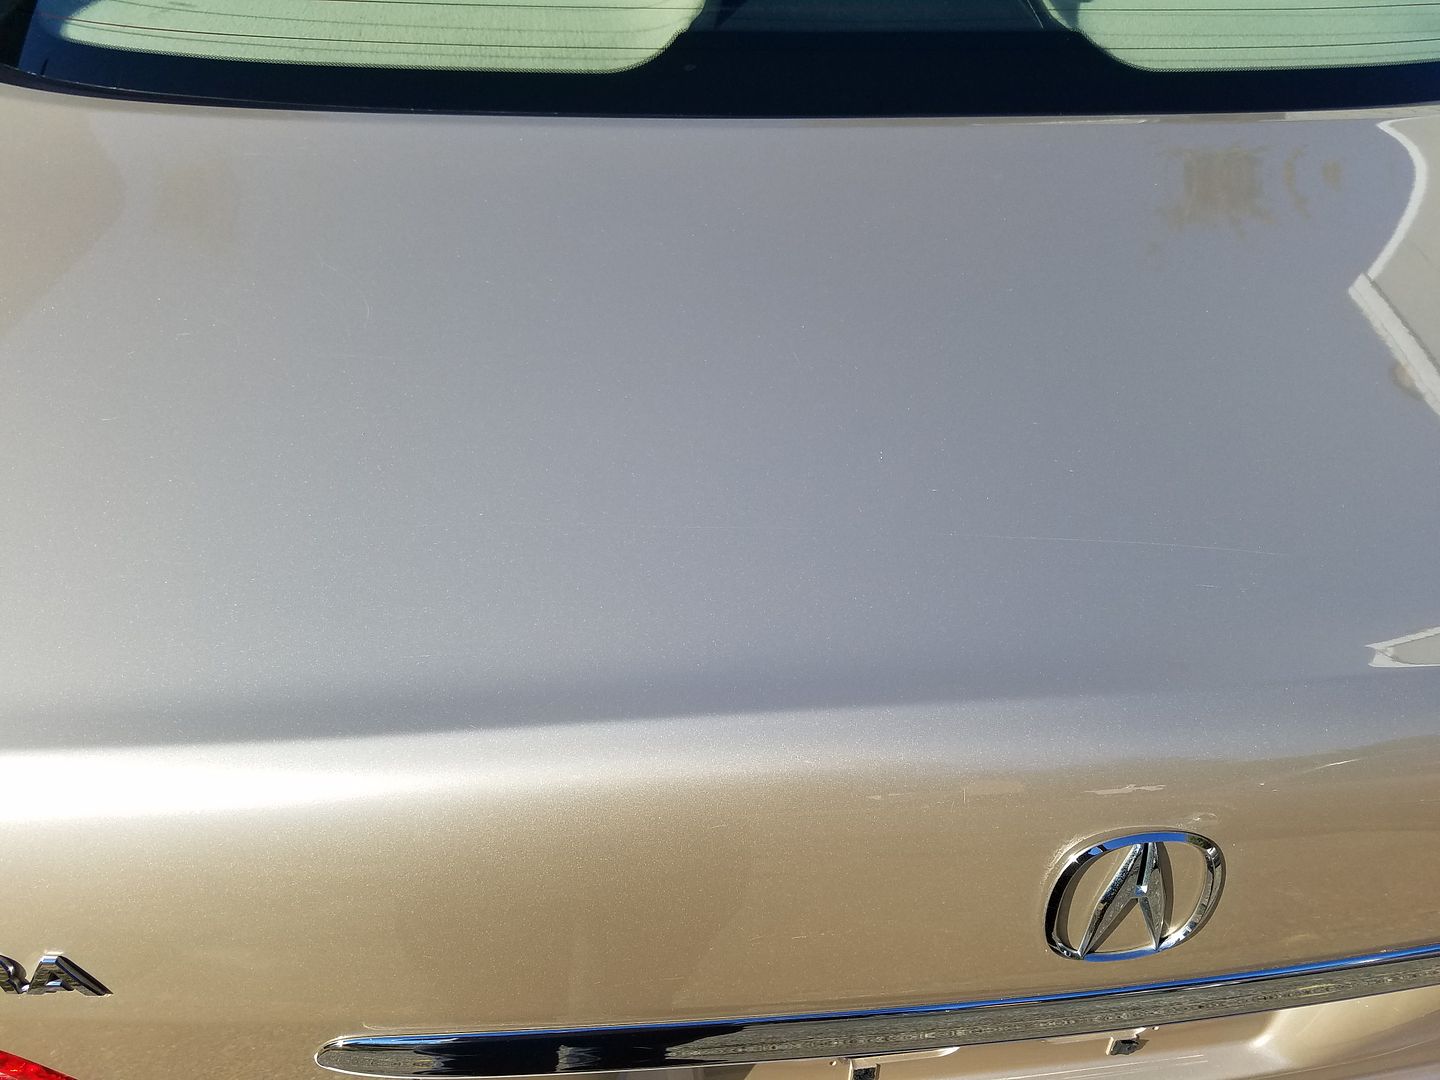 Headlights: Driver's side light in first pic is how both looked originally. Passenger's side is after the first pass with 2000-grit paper and M105. 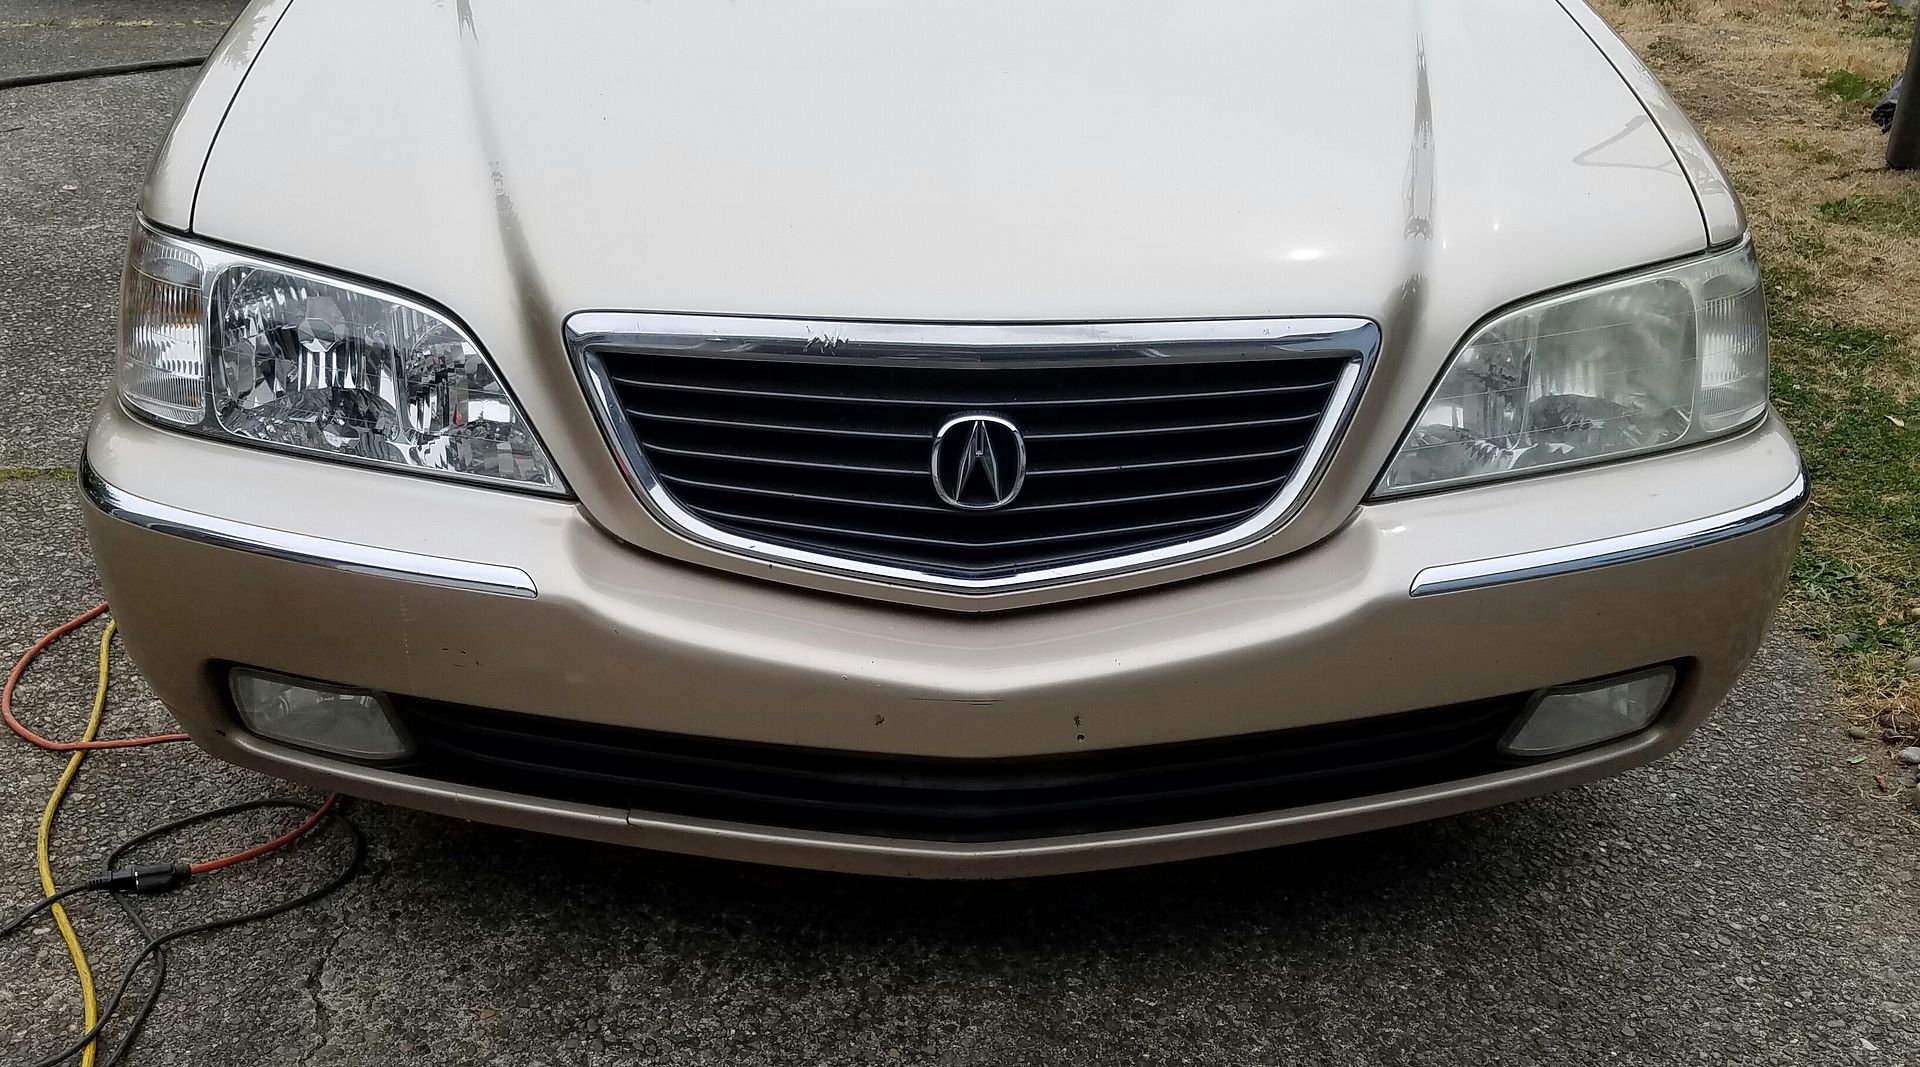 Headlights and fogs done. There's some deep pitting I decided to leave alone. I was just going for clarity. 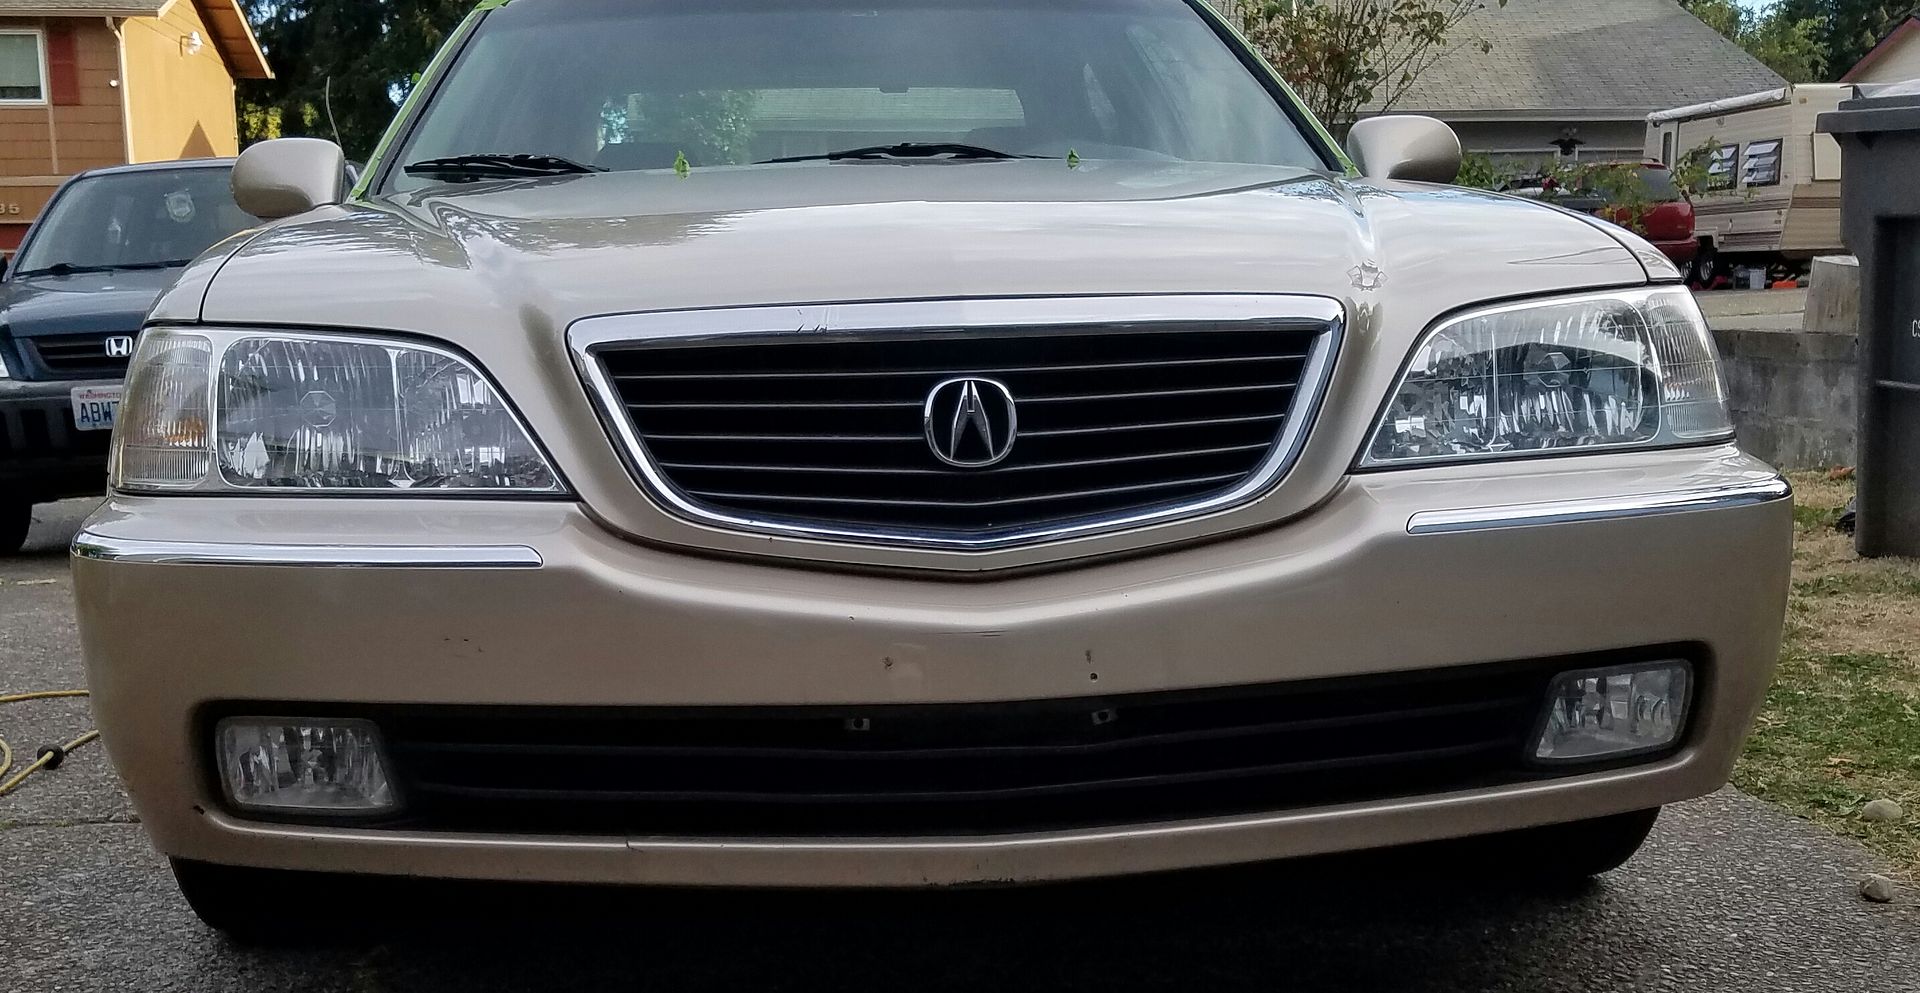 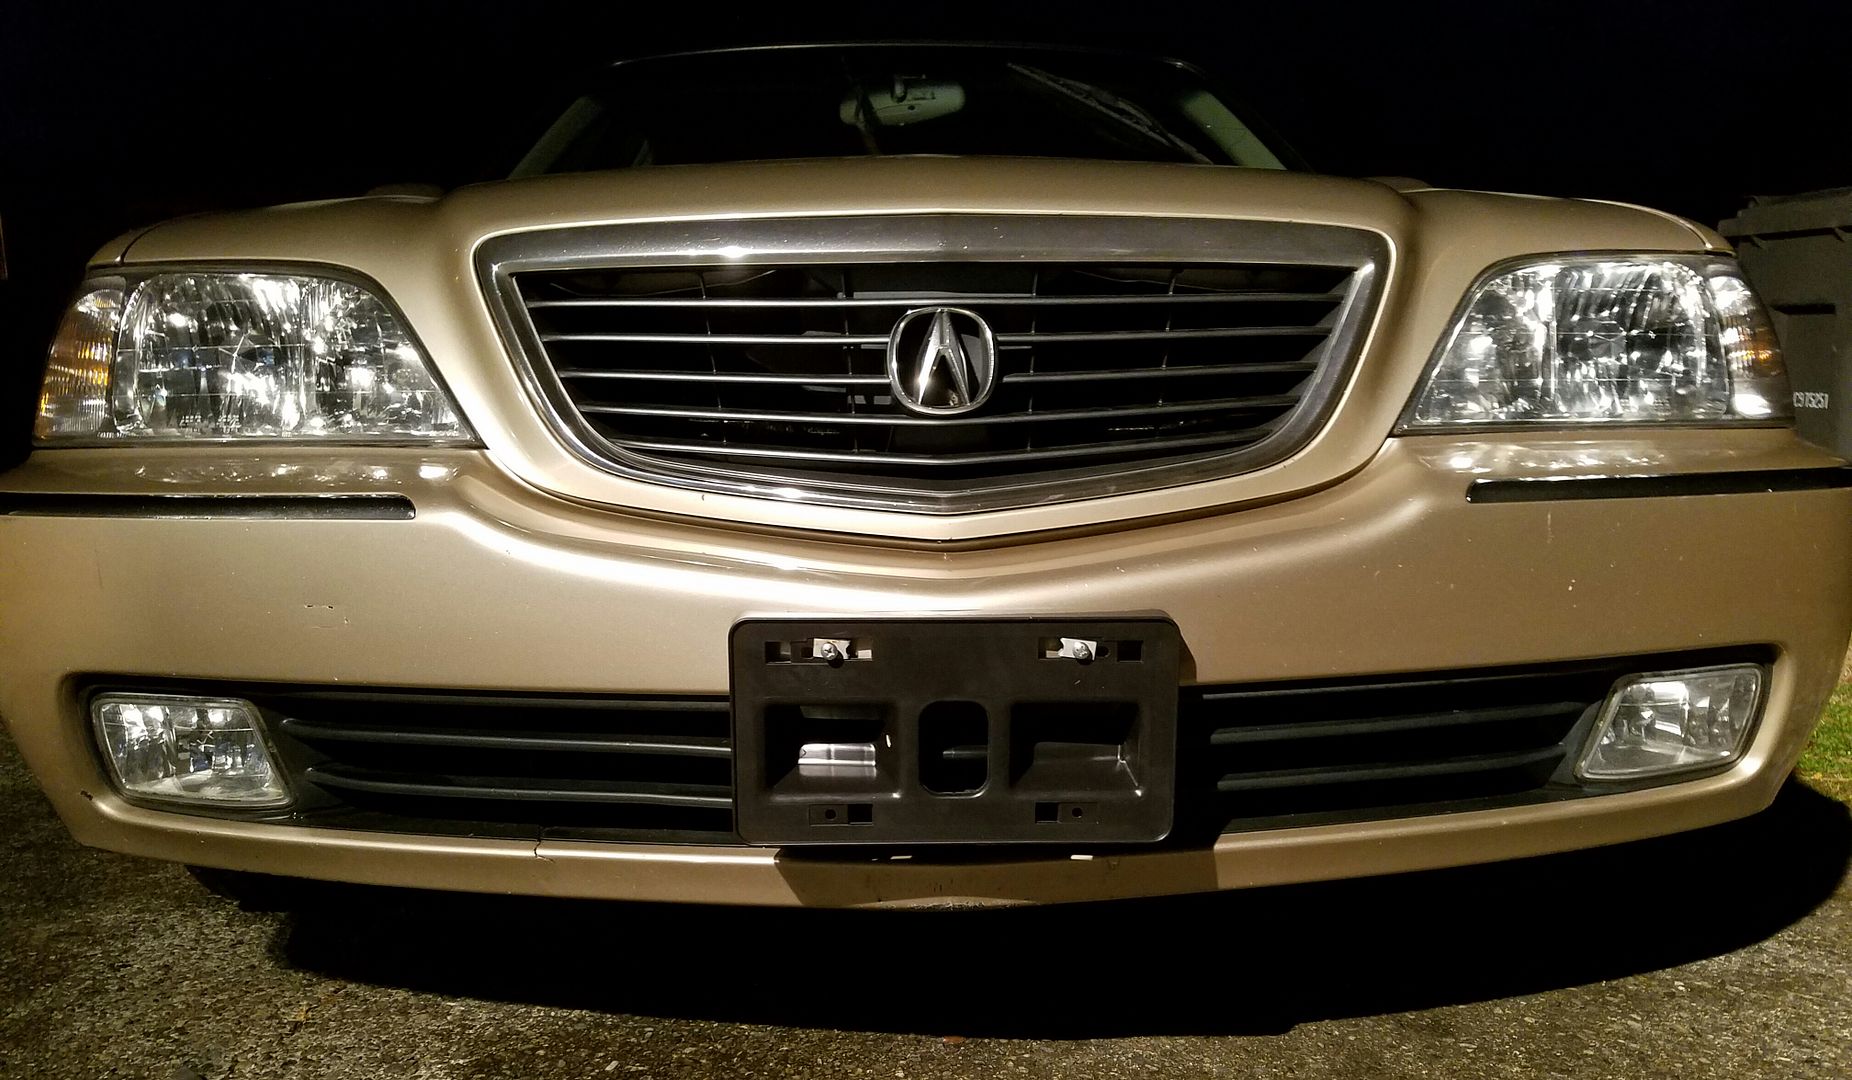 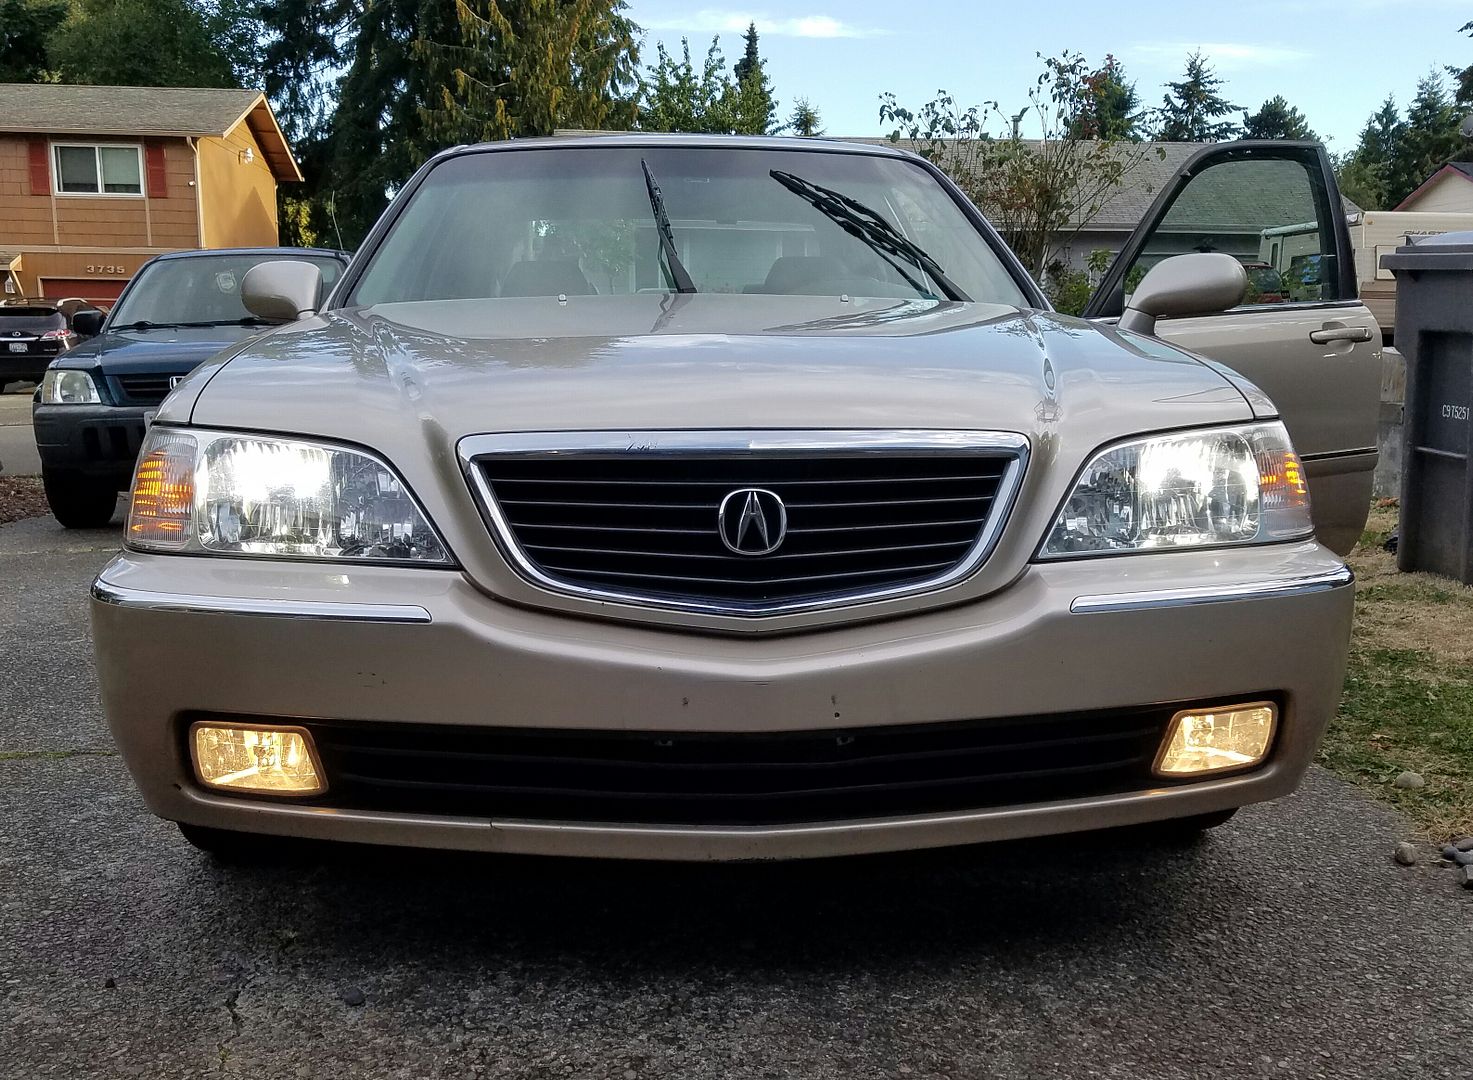 Done. I still need to clean up the mud guards, wheel wells, and wheels and tires (not much hope for the curbed wheels), so I'll post final exterior detail pics later: 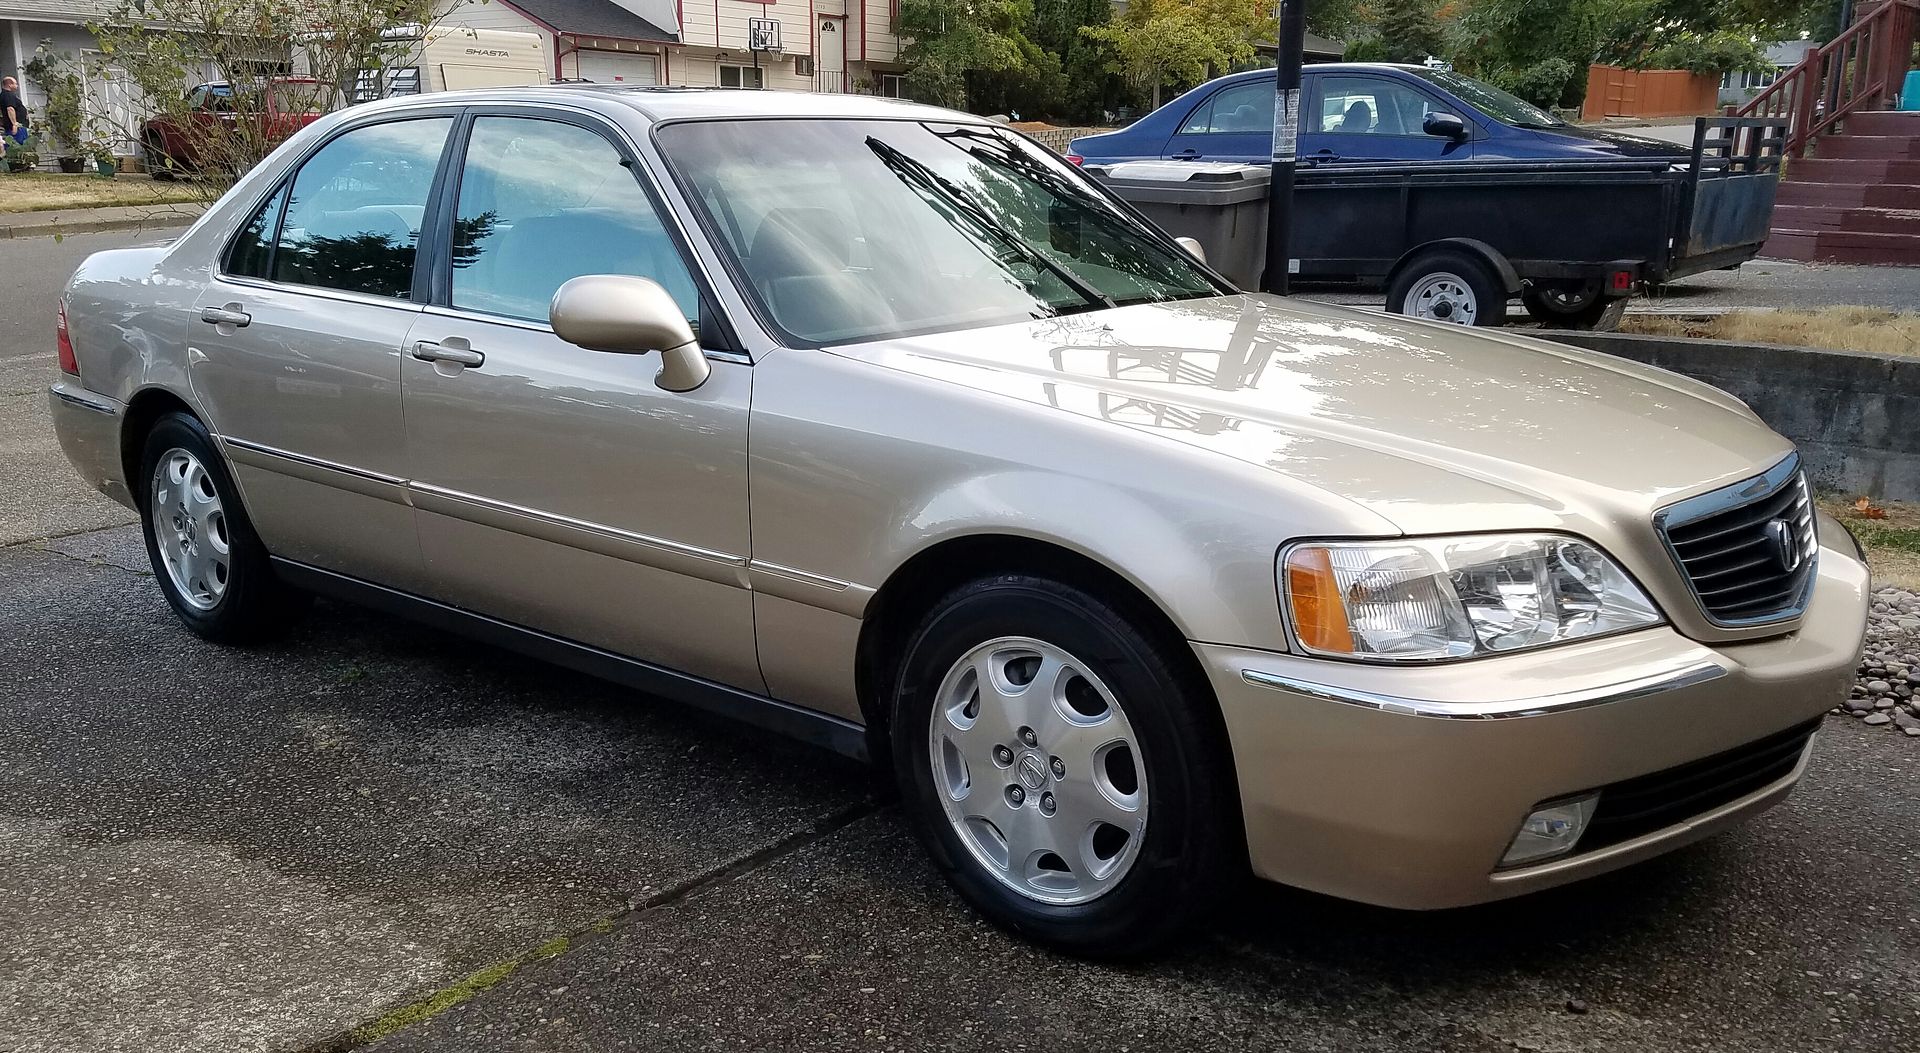 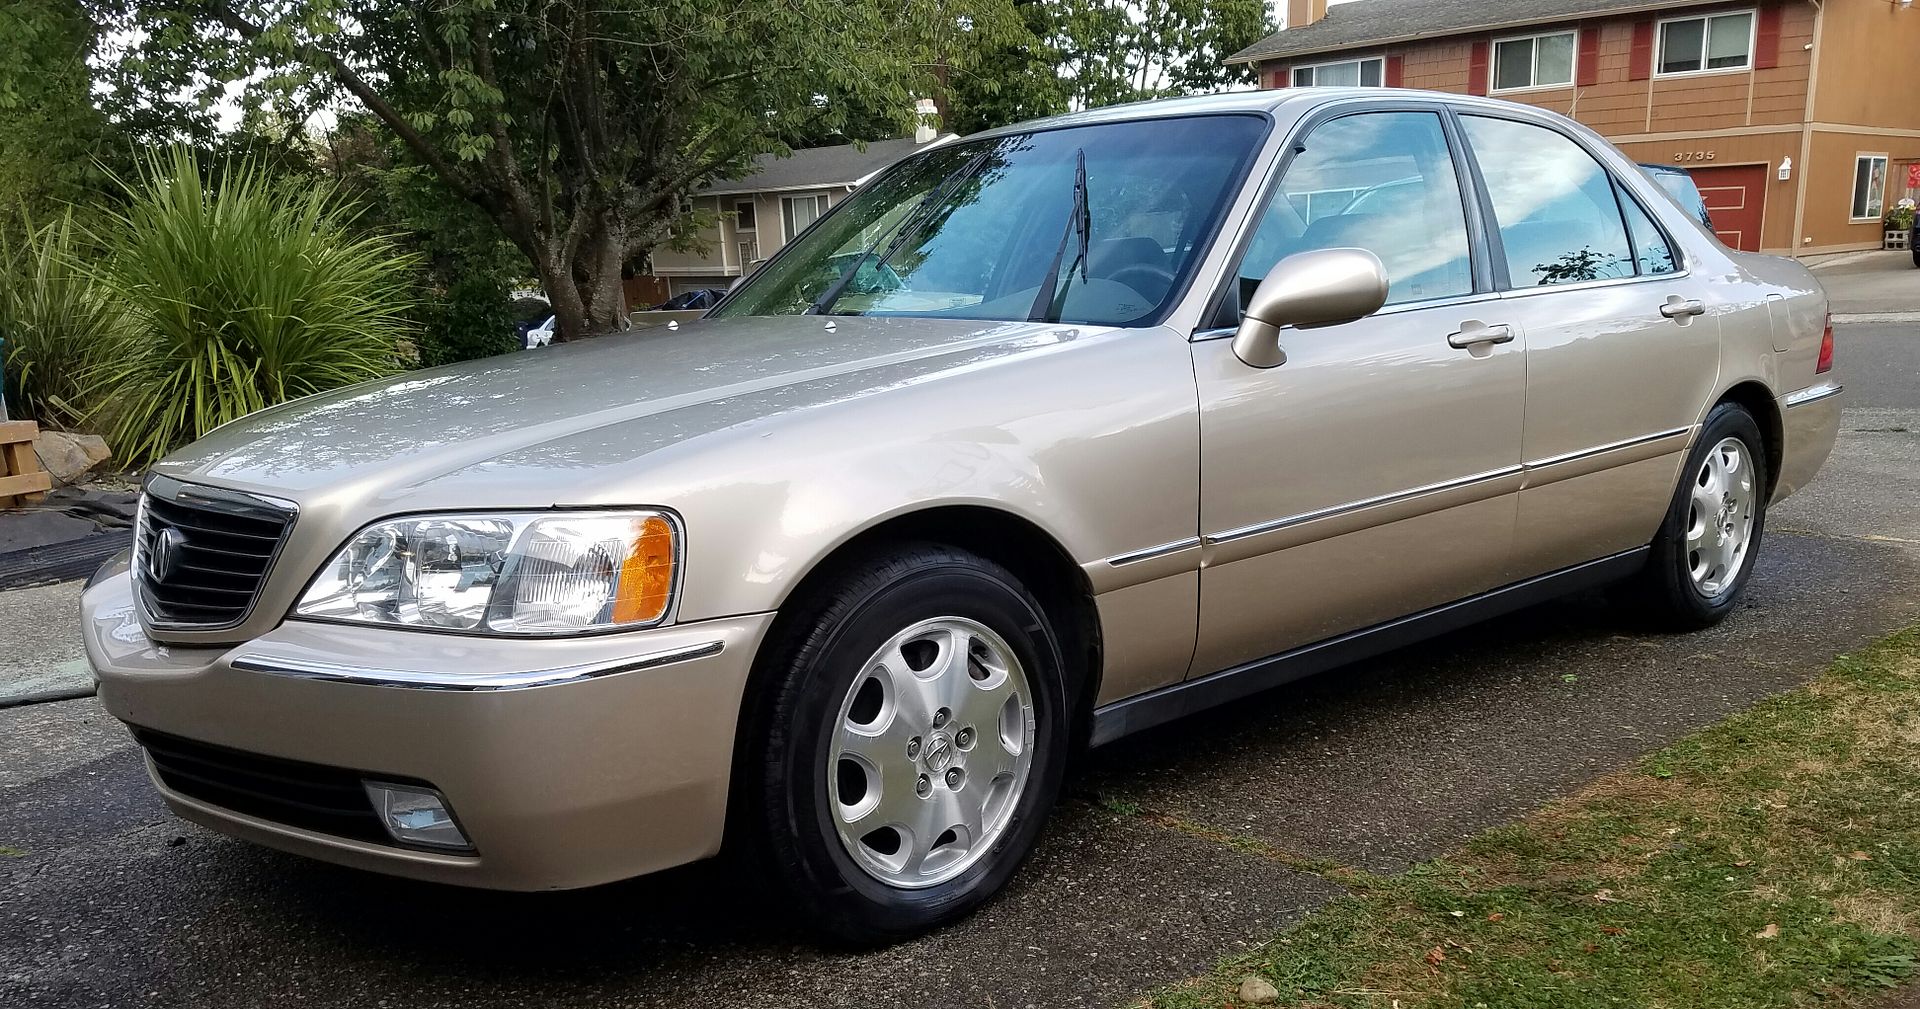 There are a couple deep scratches in the middle of the rear bumper that couldn't be corrected with the polisher: 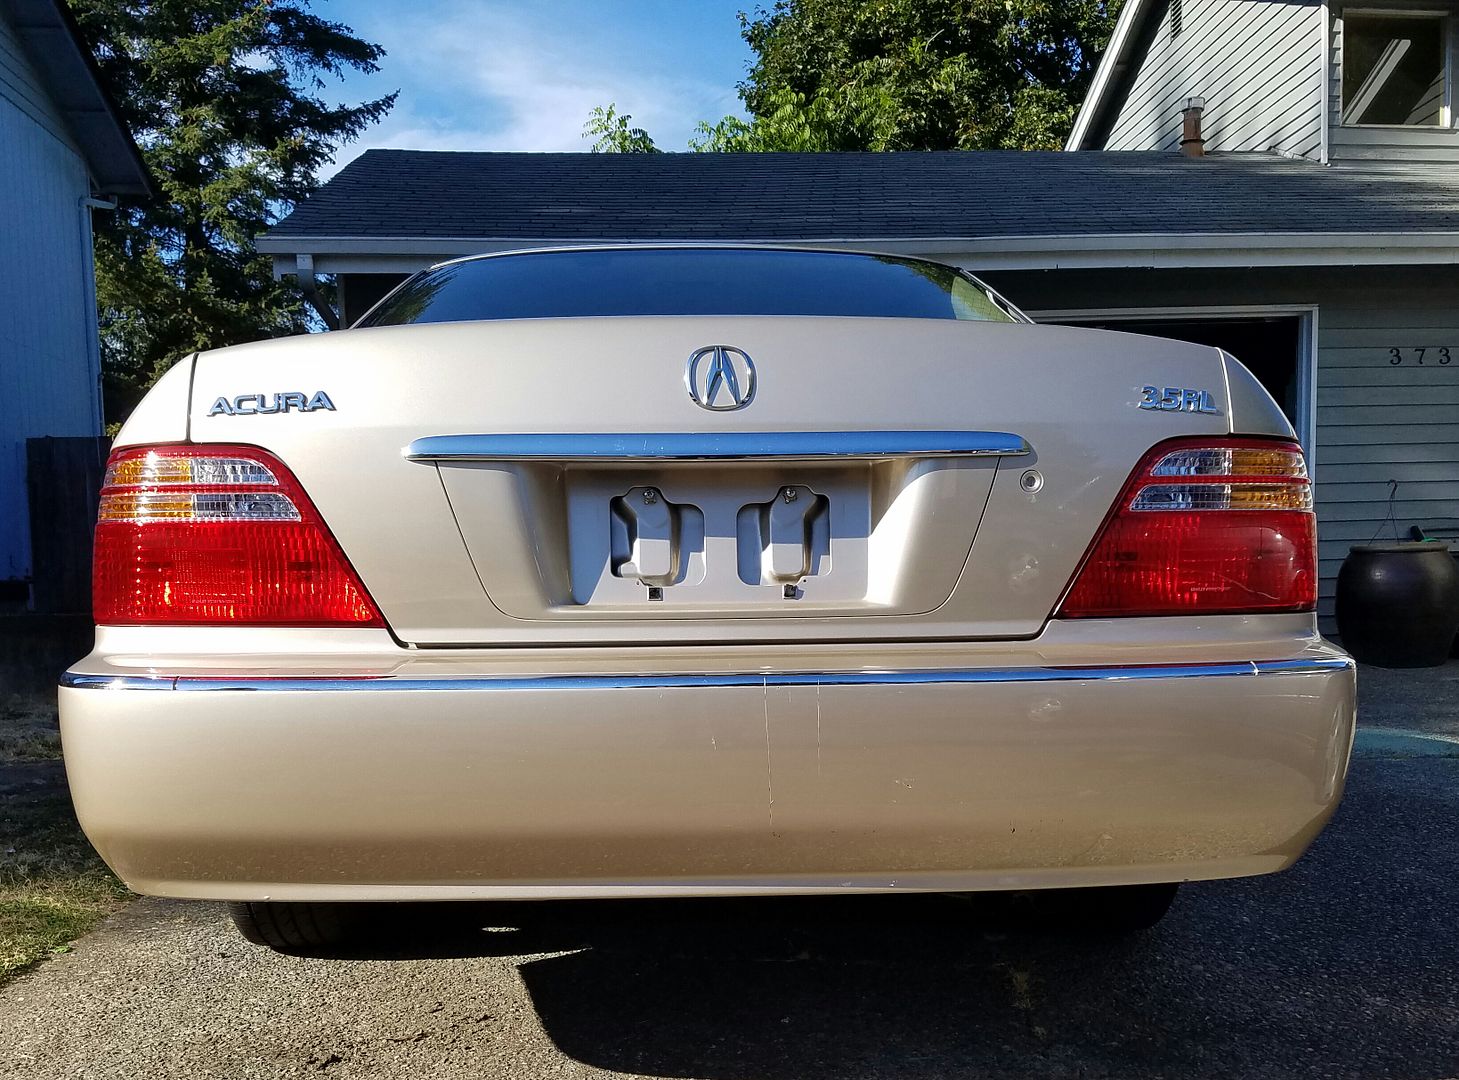 Up next: Replacing some exterior components...stay tuned  Sent from my SM-G935V using Tapatalk
__________________
My 1999 Acura RL "Build": http://forums.acuralegend.org/showthread.php?t=34510 Last edited by byalegend; 08-30-2016 at 01:50 PM. |
||
|
|

|
|
|
#20 | |
|
Senior Member
Join Date: Jun 2009
Location: WA
Posts: 1,632
 |
Quote:
Good question. I have yet to prove that the heater core was the issue. I'll be closely monitoring the coolant level and periodically checking the carpet. Sent from my SM-G935V using Tapatalk
__________________
My 1999 Acura RL "Build": http://forums.acuralegend.org/showthread.php?t=34510 Last edited by byalegend; 08-29-2016 at 06:25 PM. |
|
|
|

|
 |
| Bookmarks |
| Currently Active Users Viewing This Thread: 1 (0 members and 1 guests) | |
| Thread Tools | |
| Display Modes | |
|
|
 Similar Threads
|
||||
| Thread | Thread Starter | Forum | Replies | Last Post |
| Bought a G1! | DevanTheDude | 1st Gen. Legend General Discussion | 32 | 08-25-2010 07:37 PM |
| look what i just bought | OLDSKOOLACURA | The Water Cooler | 28 | 04-03-2010 05:29 PM |
| has anyone ever bought from? | Biggg72 | The Water Cooler | 3 | 03-09-2010 07:55 AM |
| Has anyone ever bought from here? | Biggg72 | 2nd Gen. Legend General Discussion | 16 | 01-11-2010 12:42 AM |